Keyboard Waffle
Did you ever have to put a project down for a while, and then other things take priority, and then when you do have some "me" time there are other projects that really seem like they need your attention first, and then you start to forget the details and decisions of where you were in that original project, and then ... years go by ...
No? Just me?
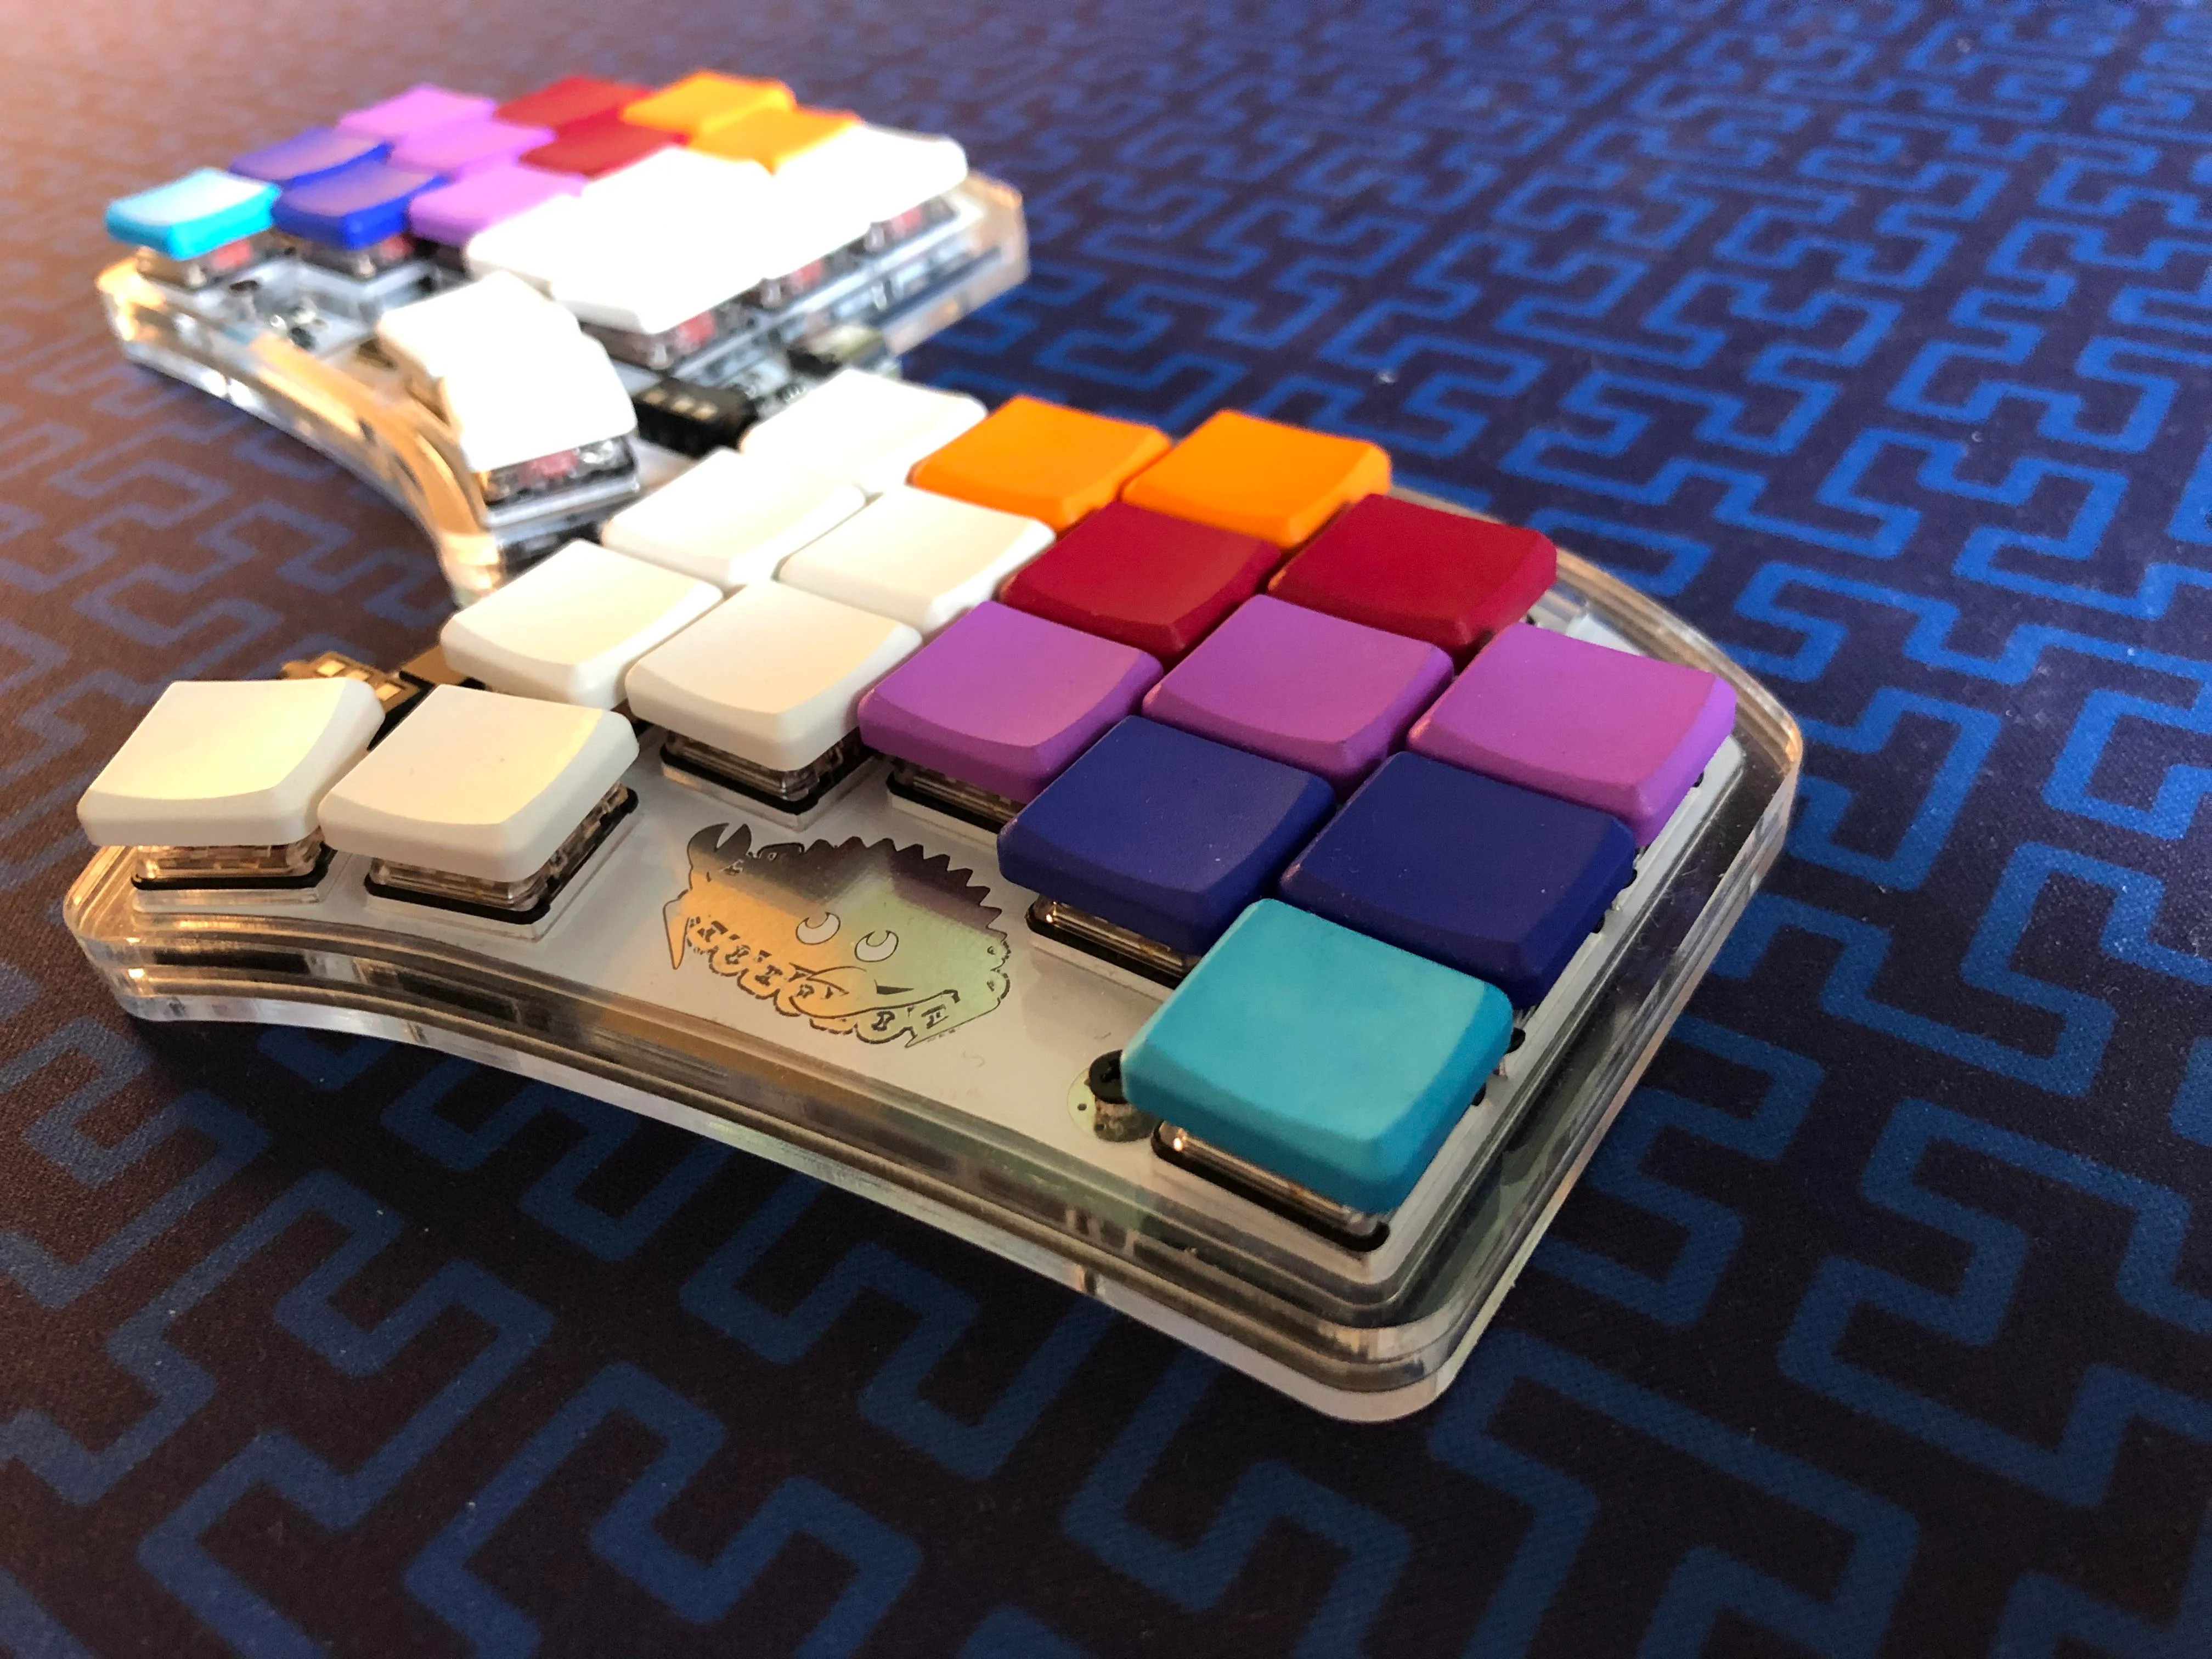
Anyway, this past Xmas I gave myself the gift of picking up an old project and really putting my back into it, just git 'er done. The specific thingamabob in this case is a custom mechanical keyboard build. In speedrunning myself back to a headspace where I could finish things, it occurred to me that there are a bunch of interesting considerations here that would be fun to share.
== DISCLAIMER ==
This is not a comprehensive overview of the keyboard-building hobby, or a step-by-step guide to my particular build. This is just a series of effortposts capturing my recent project thoughts for the benefit of anyone who enjoys watching someone else nerd out in detail.
Also, I'm not an expert, and in some spots I'm running on several-years-old memory here. Good-spirited corrections welcome.
OK, so!
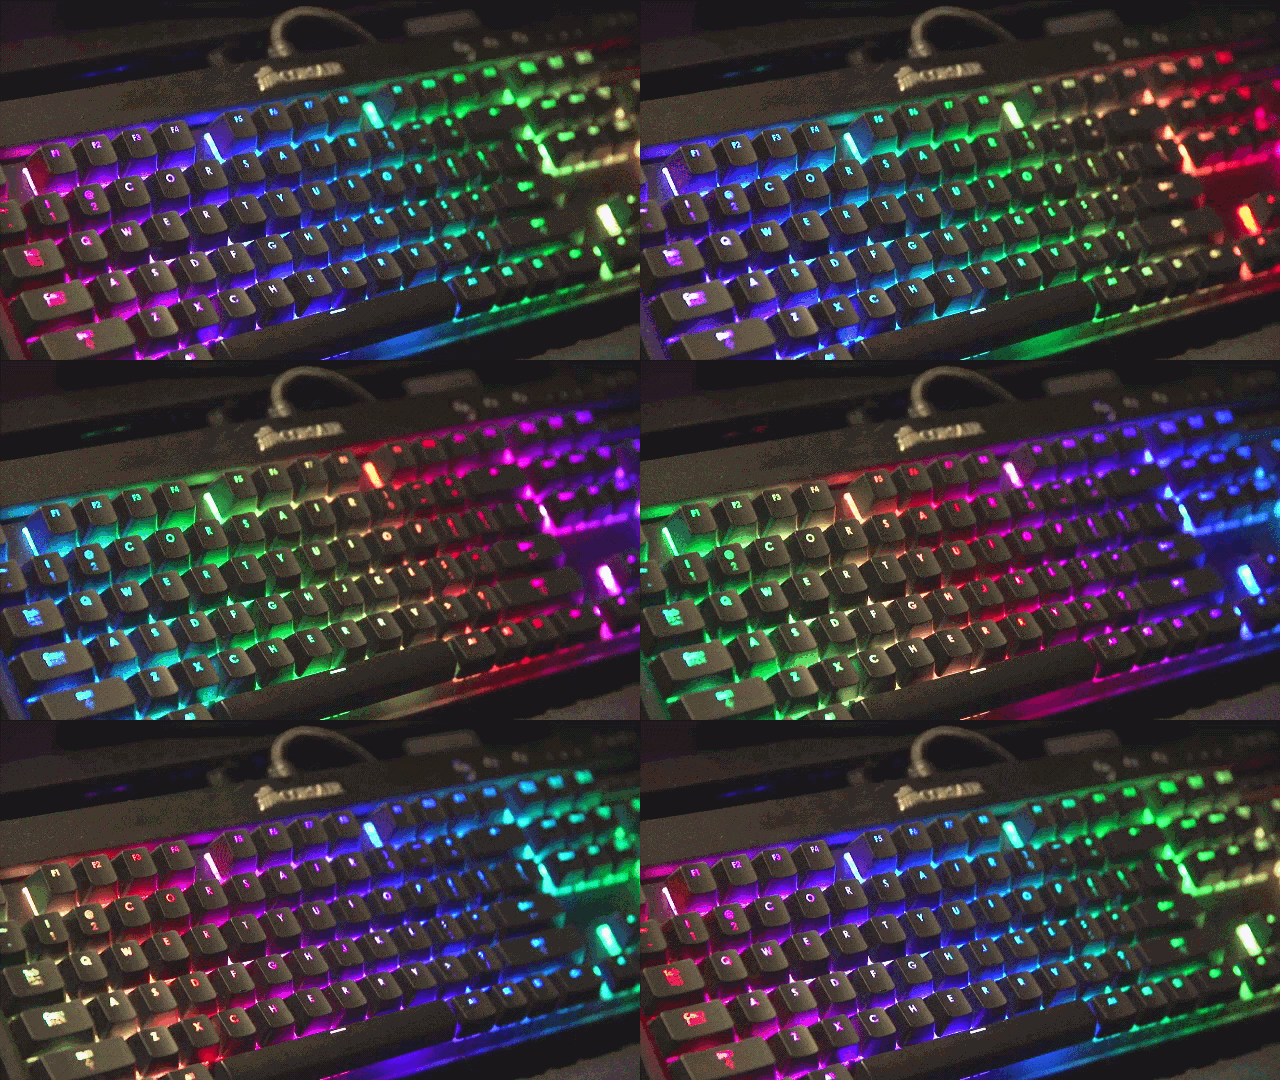
We've all probably seen folks posting pictures of their keyboards right? Maybe with no particular context other than that they look cool (and/or barely usable) with their odd shapes, funny keycaps, and maybe a Christmas-tree lighting job.
At some point I realized that many of these objects were being built from components rather than just bought from Razer et al., and that the build process was composed of some interesting technical and aesthetic tasks. In mid 2017 I decided to give it a whirl.
The aforementioned tasks, as I encountered them:
Choose the base kit
This typically includes the outer case and the circuit board. This choice affects the shape and appearance of the keyboard -- including significant variations like split "ergonomic" boards or ones that host a smaller set of keys. It will also determine what kind of LED lighting (if any) and connectors the board sports, and how configurable/programmable it is.
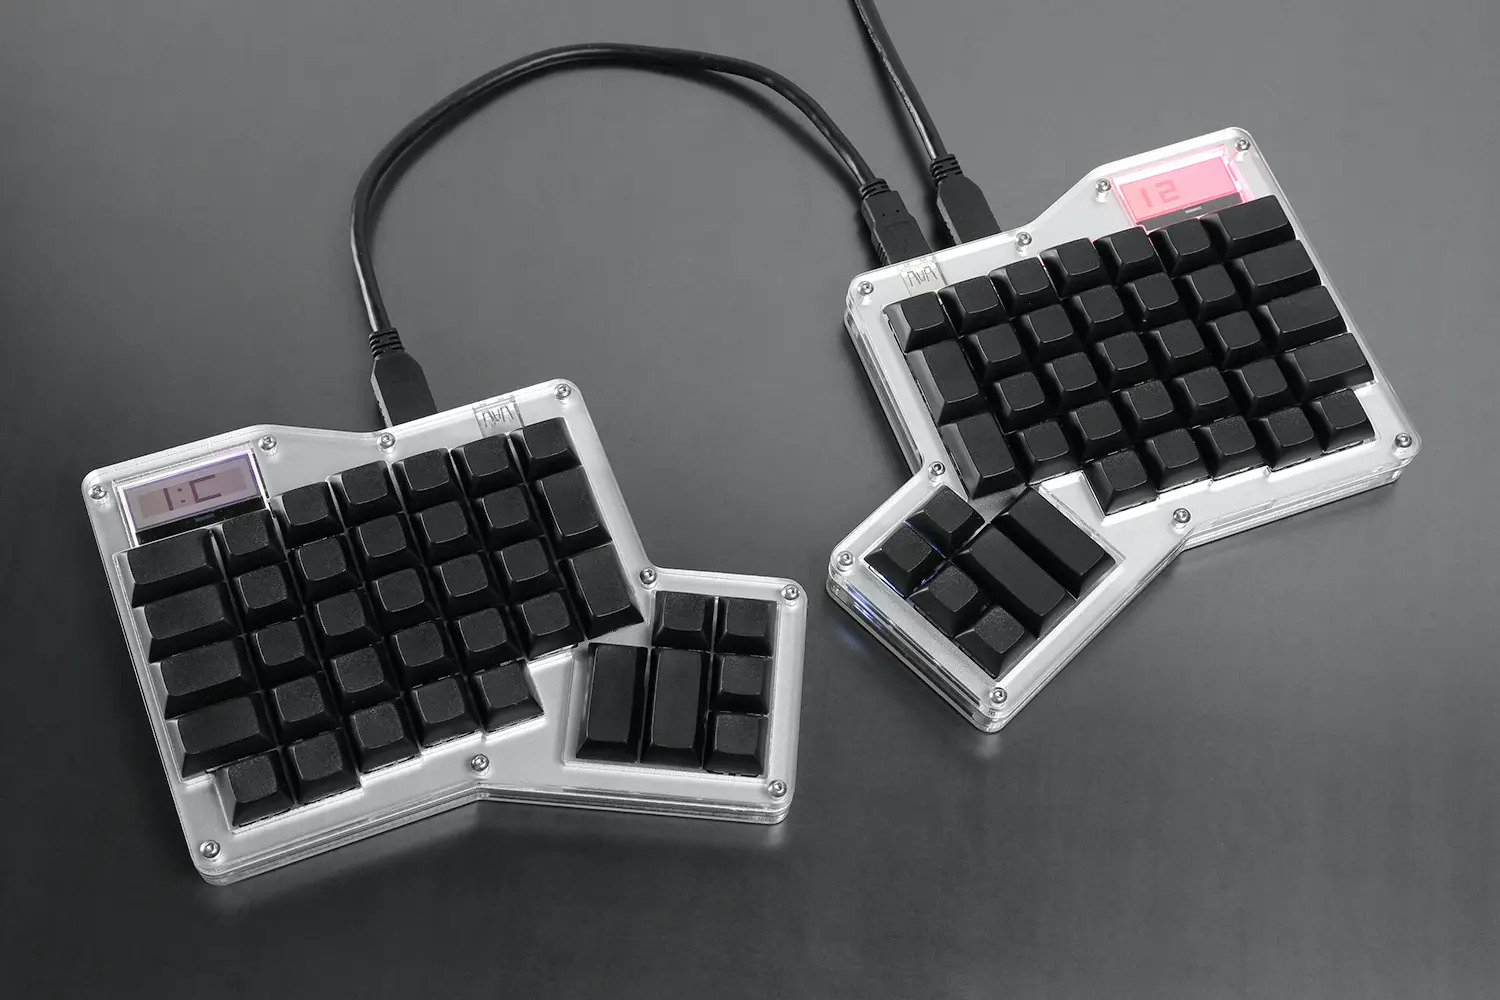
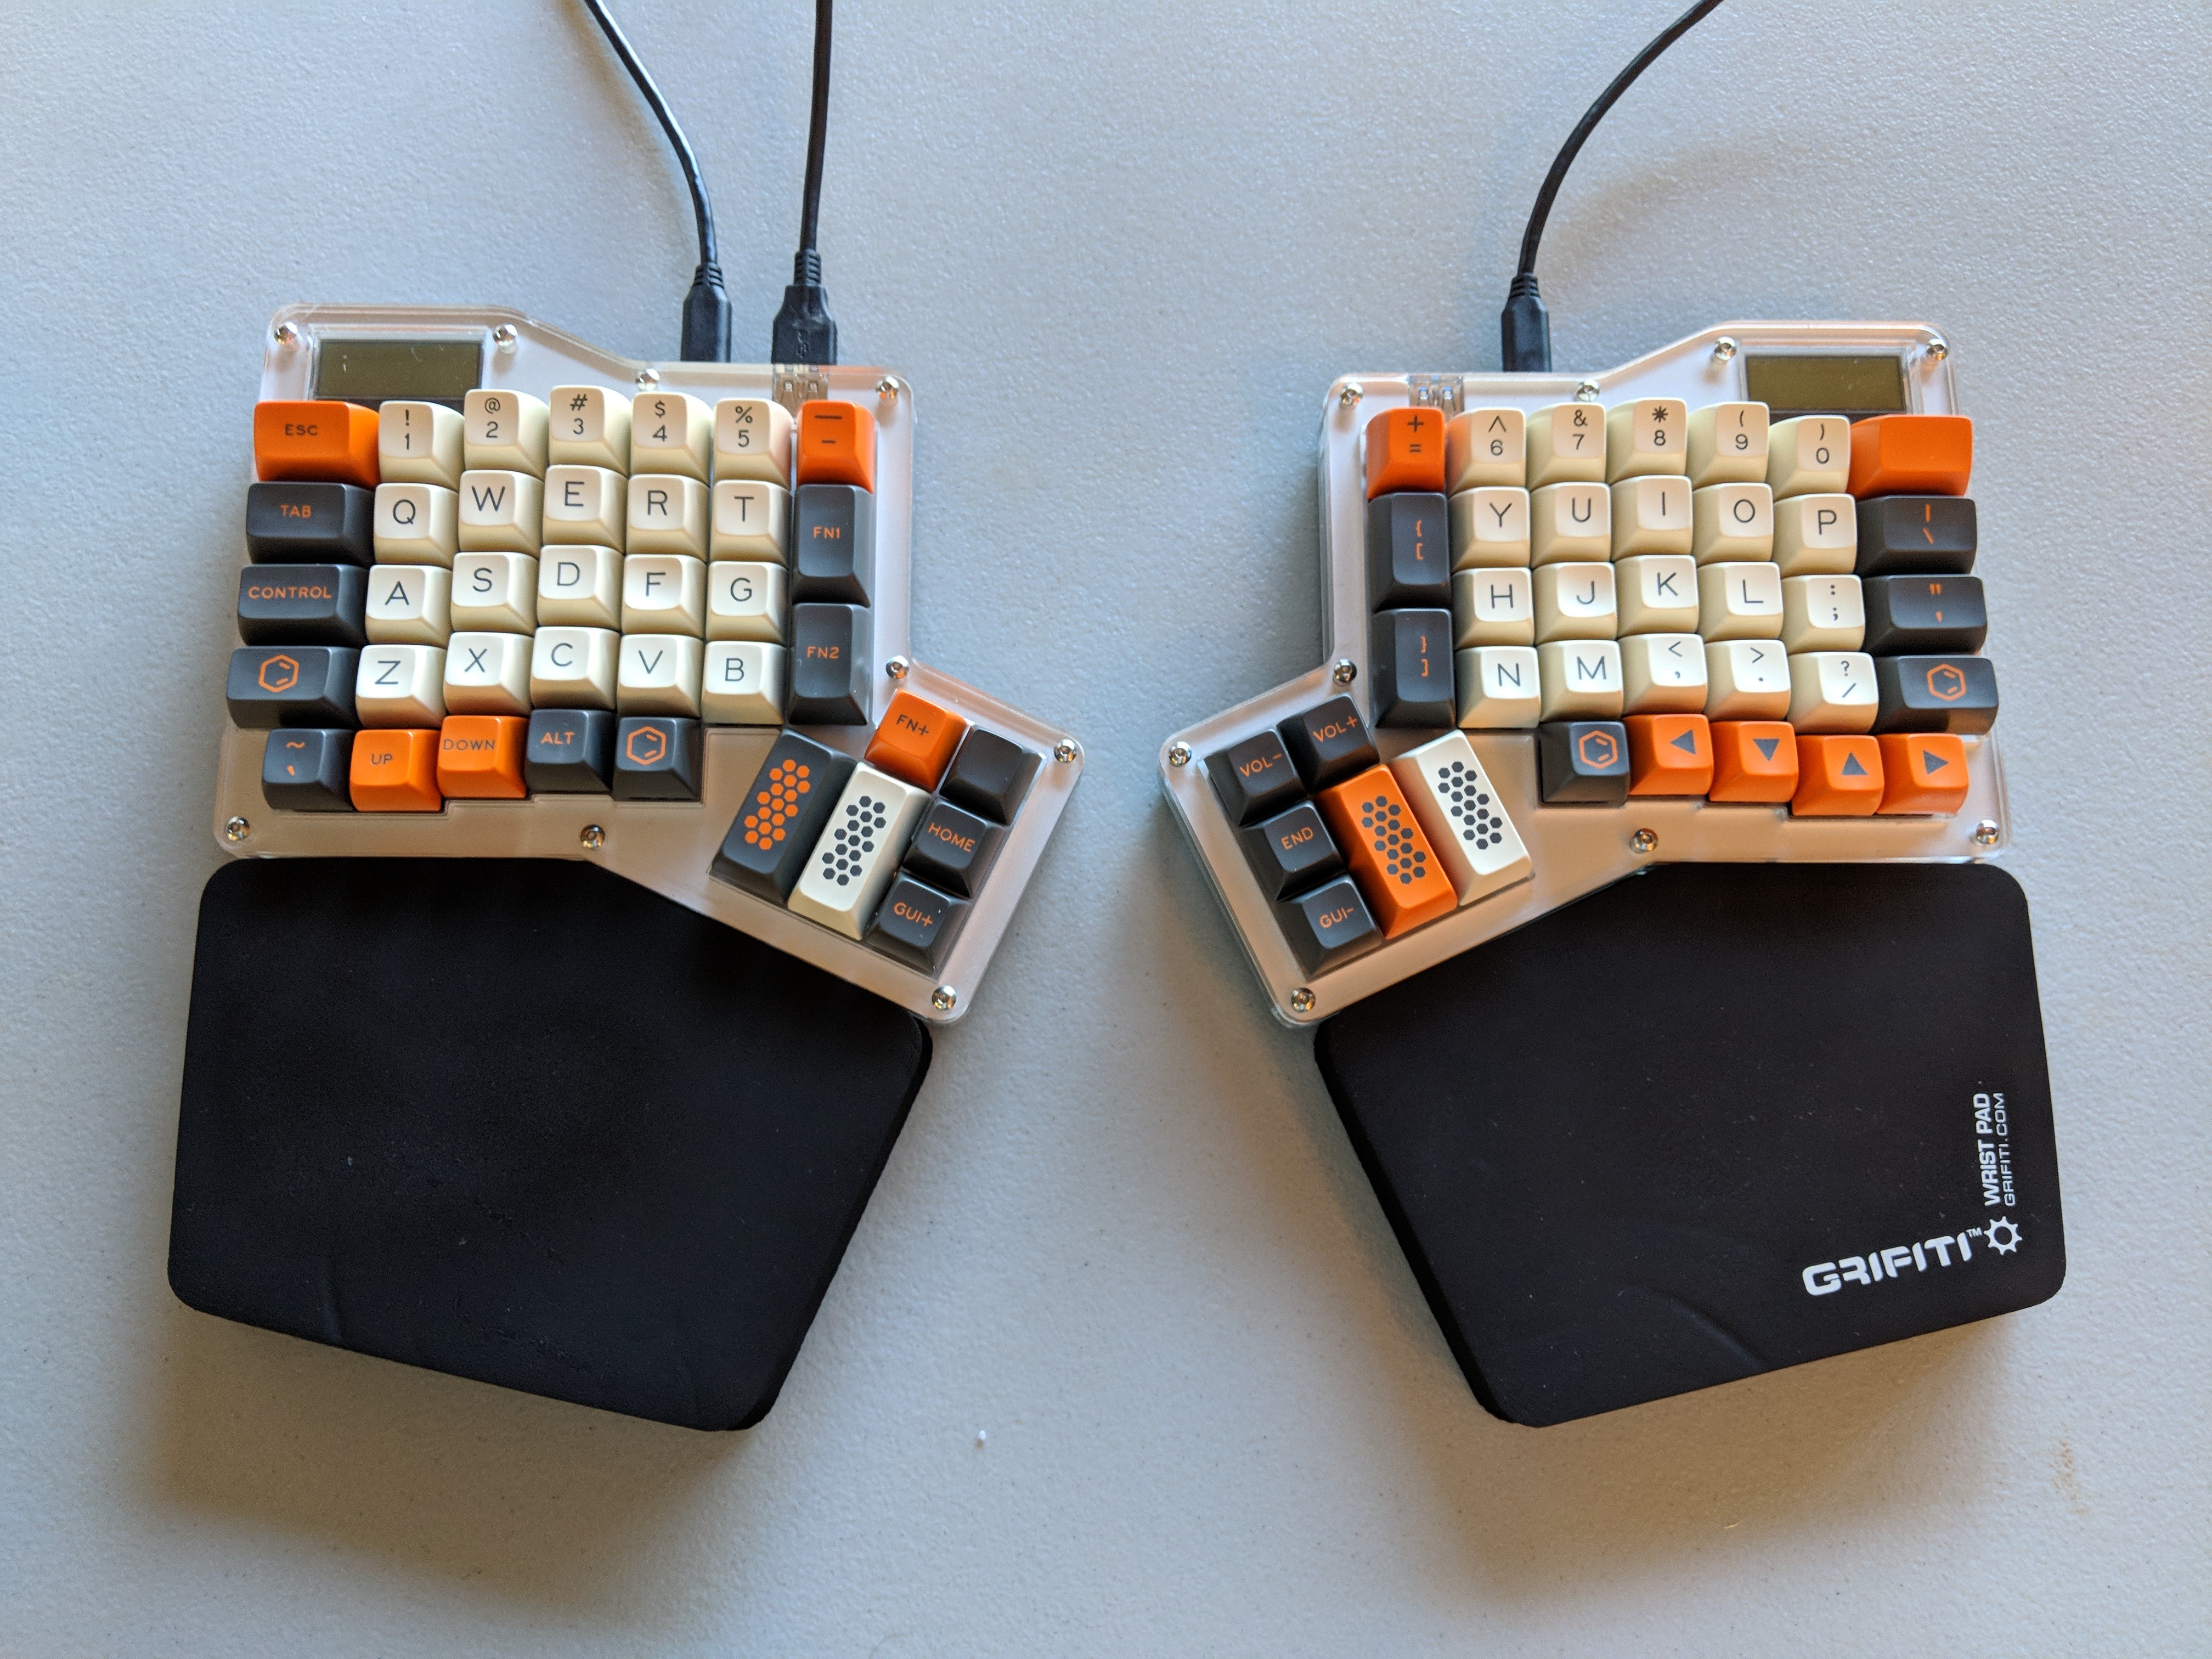
When I first got into this I liked browsing what was on offer at Massdrop, which is now just called "Drop". For my first rodeo I chose the Infinity Ergodox:
Selling points:
- allegedly ergonomic, and that's beginning to matter to me
- discourages hunt-and-peck typing habits, so that was nicely aspirational
- super configurable (more about that later)
- LCD display, helpful for feedback if your keyboard configuration includes different modes of operation
The kit was delivered four months after the group-buy process concluded, which is not unusually slow for this kind of thing.
Choose the key switches
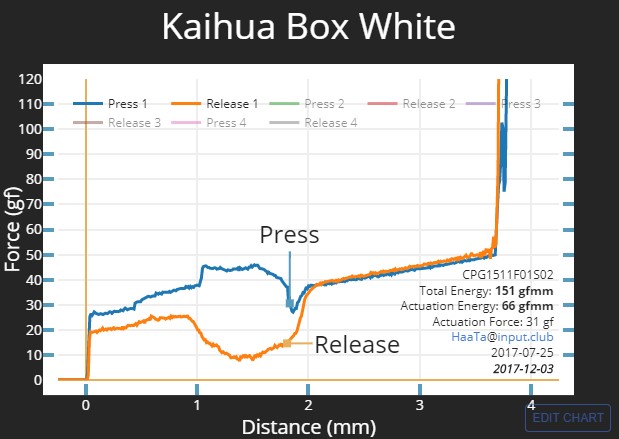
This determines how each key will react when you push down on it. Does the key go down easy or does it provide resistance? Is it smooth resistance or is there a tactile "bump" at some point? Does it make a clicky sound? This is one of many deep rabbit holes in this process -- if you're not careful you can find yourself squinting at graphs with a developing conviction that a particular switch isn't quite right because you would prefer a pre-activation curve that tops out with 10 fewer grams-force.
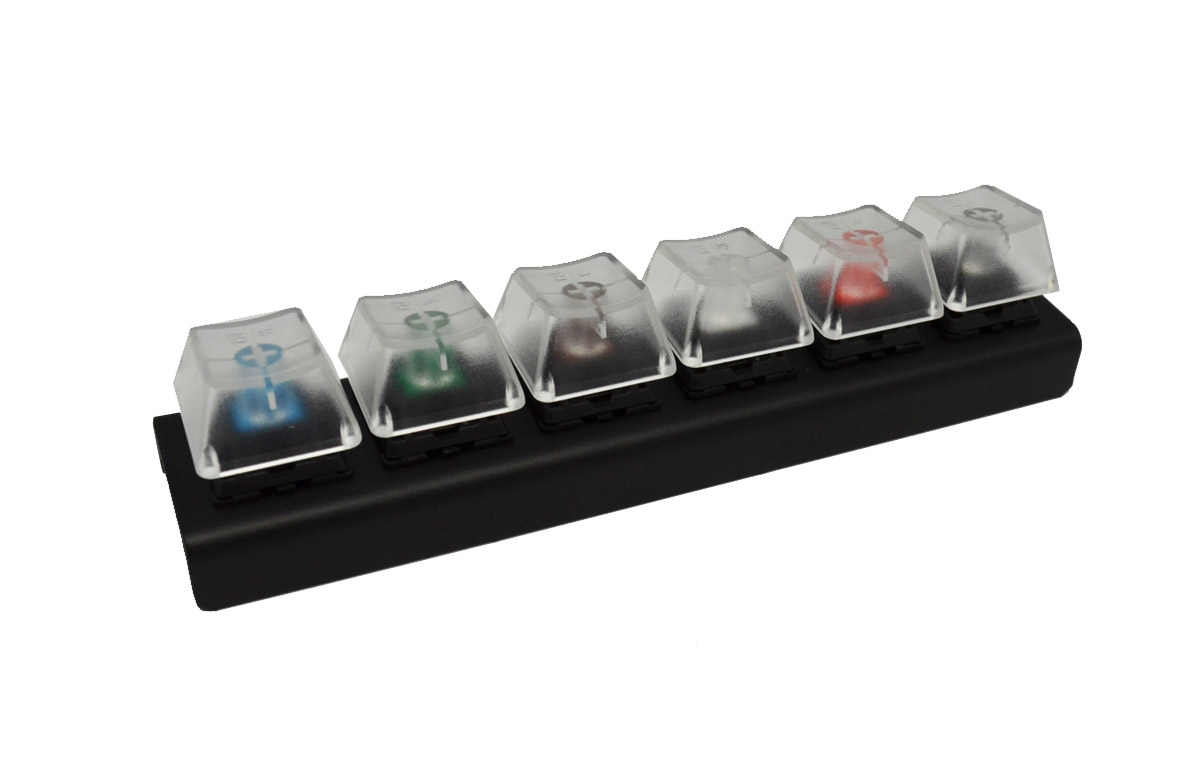
It is realllly difficult to choose switches you like based on reviews and testimonials. Ideally you would have a bunch of complete keyboards at hand to fiddle with, all using different types of switches, but most of us don't have that option. I think this is kinda of one of those things you just develop a feel/preference for with time and experience. I did get this little tester with varieties of Cherry MX switches:
... which was better than nothing, but still not like actual full-hand typing. In the end I decided on Cherry MX White, a middle-of-the-road popular switch type that wouldn't annoy co-workers with its clicking.
Choose the keycaps
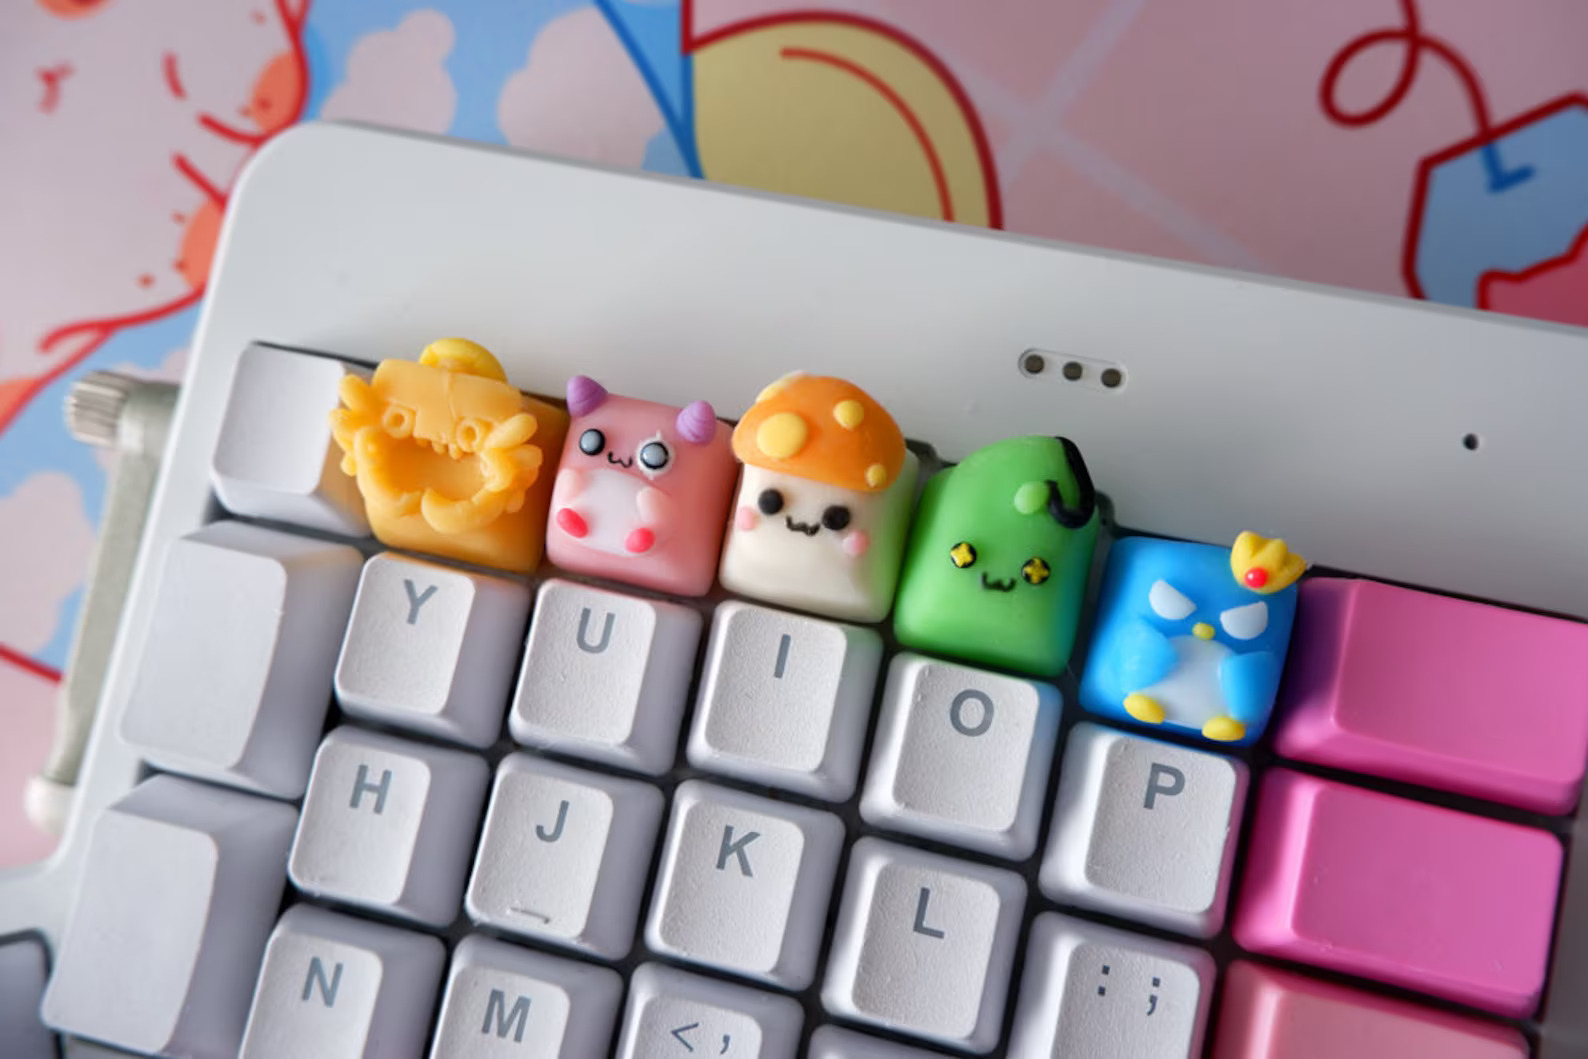
One of the main aesthetic choices in the build is picking what the keys will actually look like. As with any product that has even a hint of "express yourself", you can find a bunch of different designs and colors on offer, from utilitarian to breezy to retro to gimmick to techno to what-the-heck-ever.
I expected that, but I didn't know that I would also need to pay attention to material, switch-type compatibility, and profile. Let's skip those first two, but "profile" is interesting IMO. The profile is the height and shape of the keycap, including the shape of the top surface that your finger presses. This shape can vary depending on which row of the keyboard the keycap is intended for; especially for curved/slanted profiles it matters if your fingertip is going to be extending up or curling back to reach the key. There are a bunch of more-or-less standard profiles out there, although less than a half-dozen actually common ones.
In a sort of contrarian twist I wanted to use the SA profile:
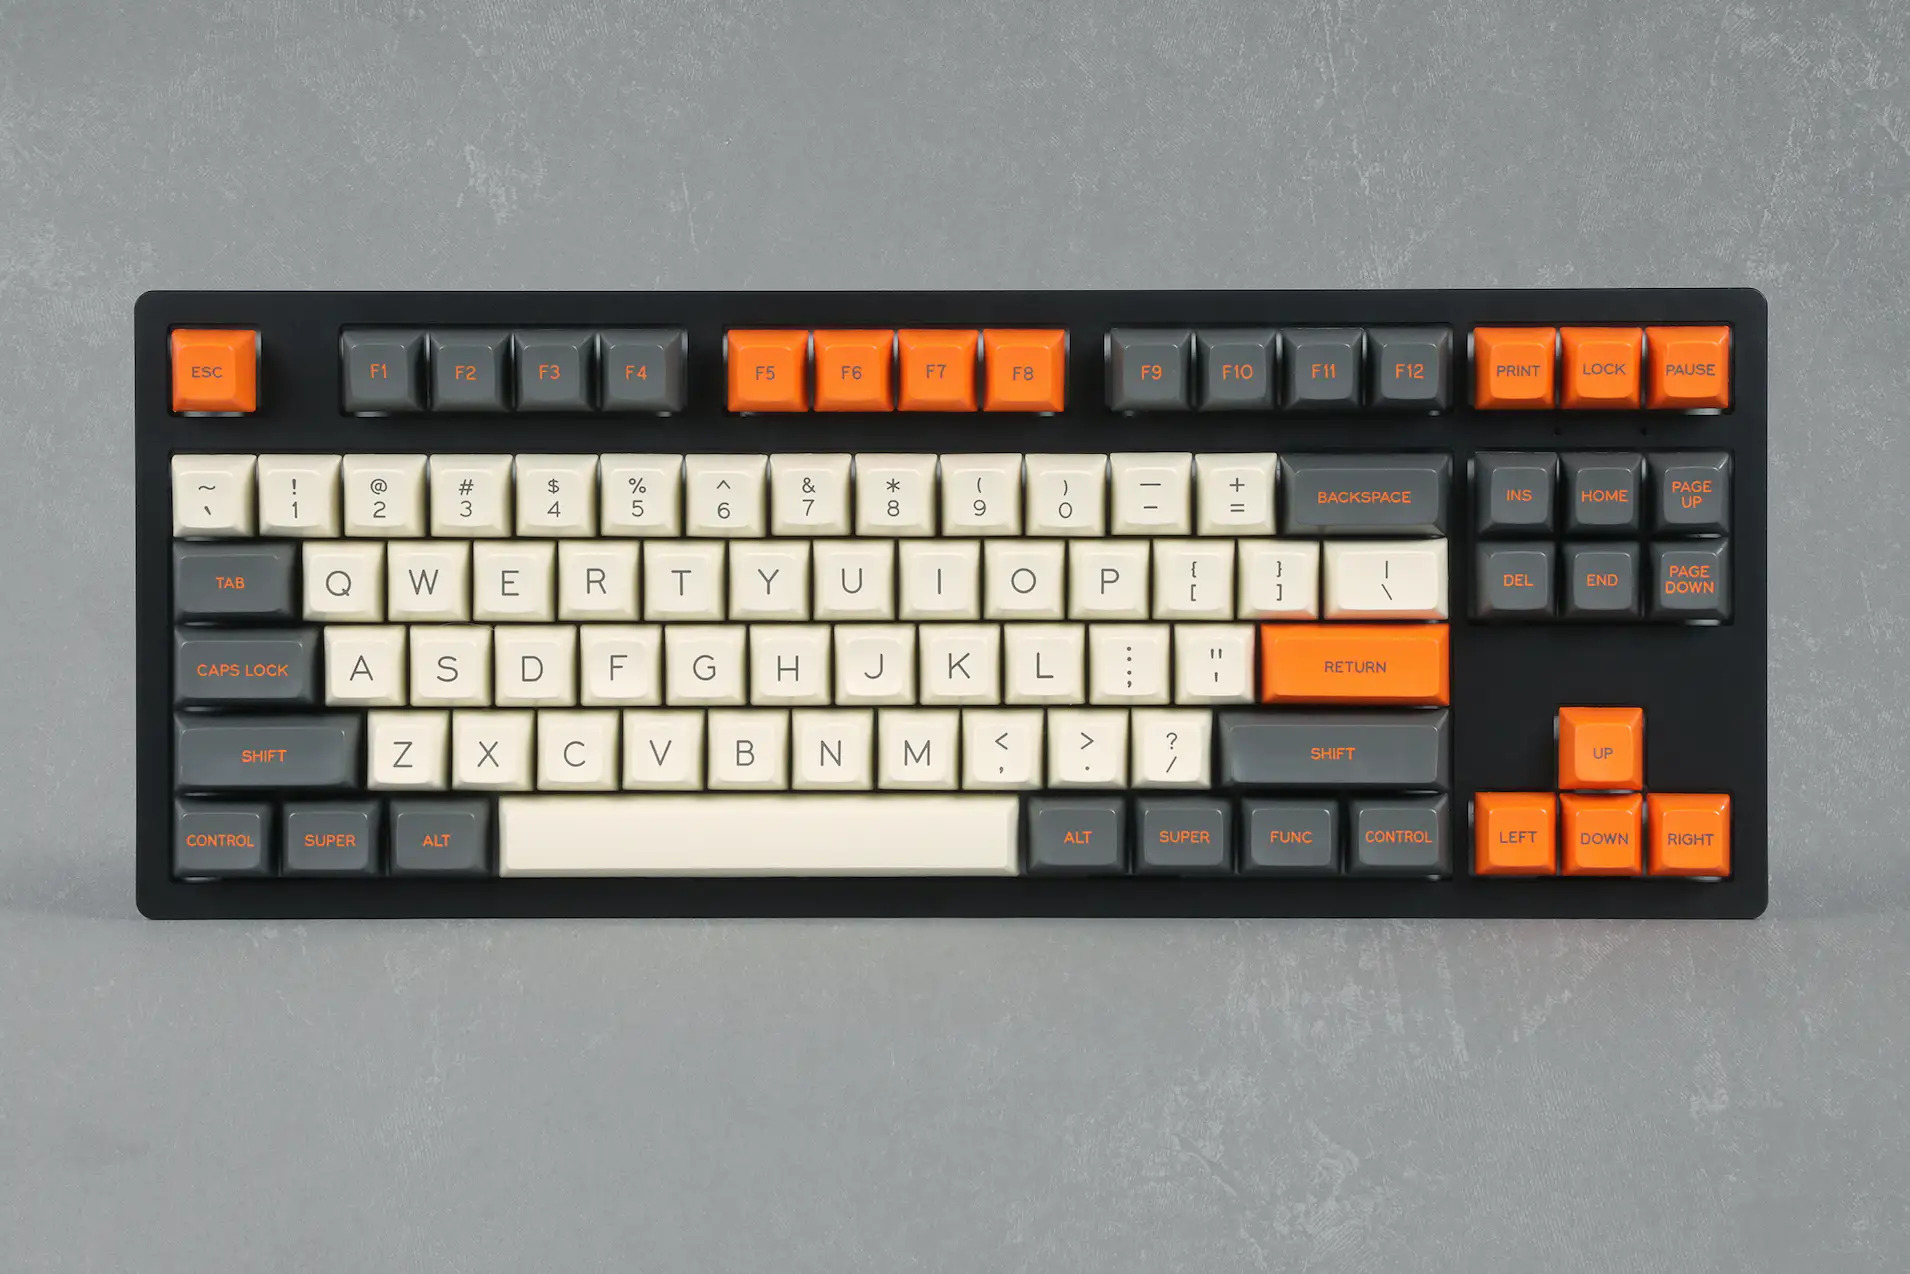
This is a big "retro" key shape reminiscent of IBM Selectric and Apple II keys. Not necessarily the easiest to use, but I liked the idea of mixing that look into the weird Ergodox form. Plus, the aggressive keytop sculpting would be another encouragement to do correct and efficient touch-typing. For the visual style of the keycaps I went with Carbon:
Now, when buying keycaps you can't just order exactly the ones you want/need. If you click into that "Carbon" link and scroll down, you can see the various sets that were available for order. You could have ordered a set of alphanumerics, a set of modifier keys, etc. A well-managed keycaps offering will try to have sets that can be mixed and matched to support many different keyboard forms, which is especially important with a profile like SA where e.g. a Ctrl key in row 4 will be shaped differently than a Ctrl key in row 3. Different keyboards may also have different width keys in different locations. In the end you'll end up buying lots more keycaps than you actually want if your keyboard is odd (like an Ergodox), just to get coverage of the ones you need.
(A further twist is that you may not actually know if your Ctrl key is eventually going to settle into row 4 or row 3 or wherever. But I'll talk about programming/configurability in a bit.)
Part of the fun, or "fun", of a keycaps group buy is that it's not clear which sets will finally be available until some number of folks have committed to buy them. If your fingers are crossed for some Ergodox-specific set then you really need a bunch of other Ergodox-ers to get on board.
Anyway, I ordered my SA Carbon sets and then waited a year for them to arrive. Which is not unusually slow for this kind of thing.
For use in the meantime I also ordered a set of DSA Granite keycaps that would arrive at the same time as the Infinity Ergodox kit.
Assembling
Once you have all the physical bits, the next step is to put them together! There's some amount of case-and-circuit-board assembly to do, along with getting the switches into the board and finally pressing the keycaps onto the switches. Traditionally installing the switches has involved a lot of soldering (two leads per switch, or more if you're installing per-key LEDs). "Hotswap" boards have also become a common option, where each switch lead just presses into a tiny springloaded clamp that ensures contact without soldering, but in this case it was time for a solder-o-rama.
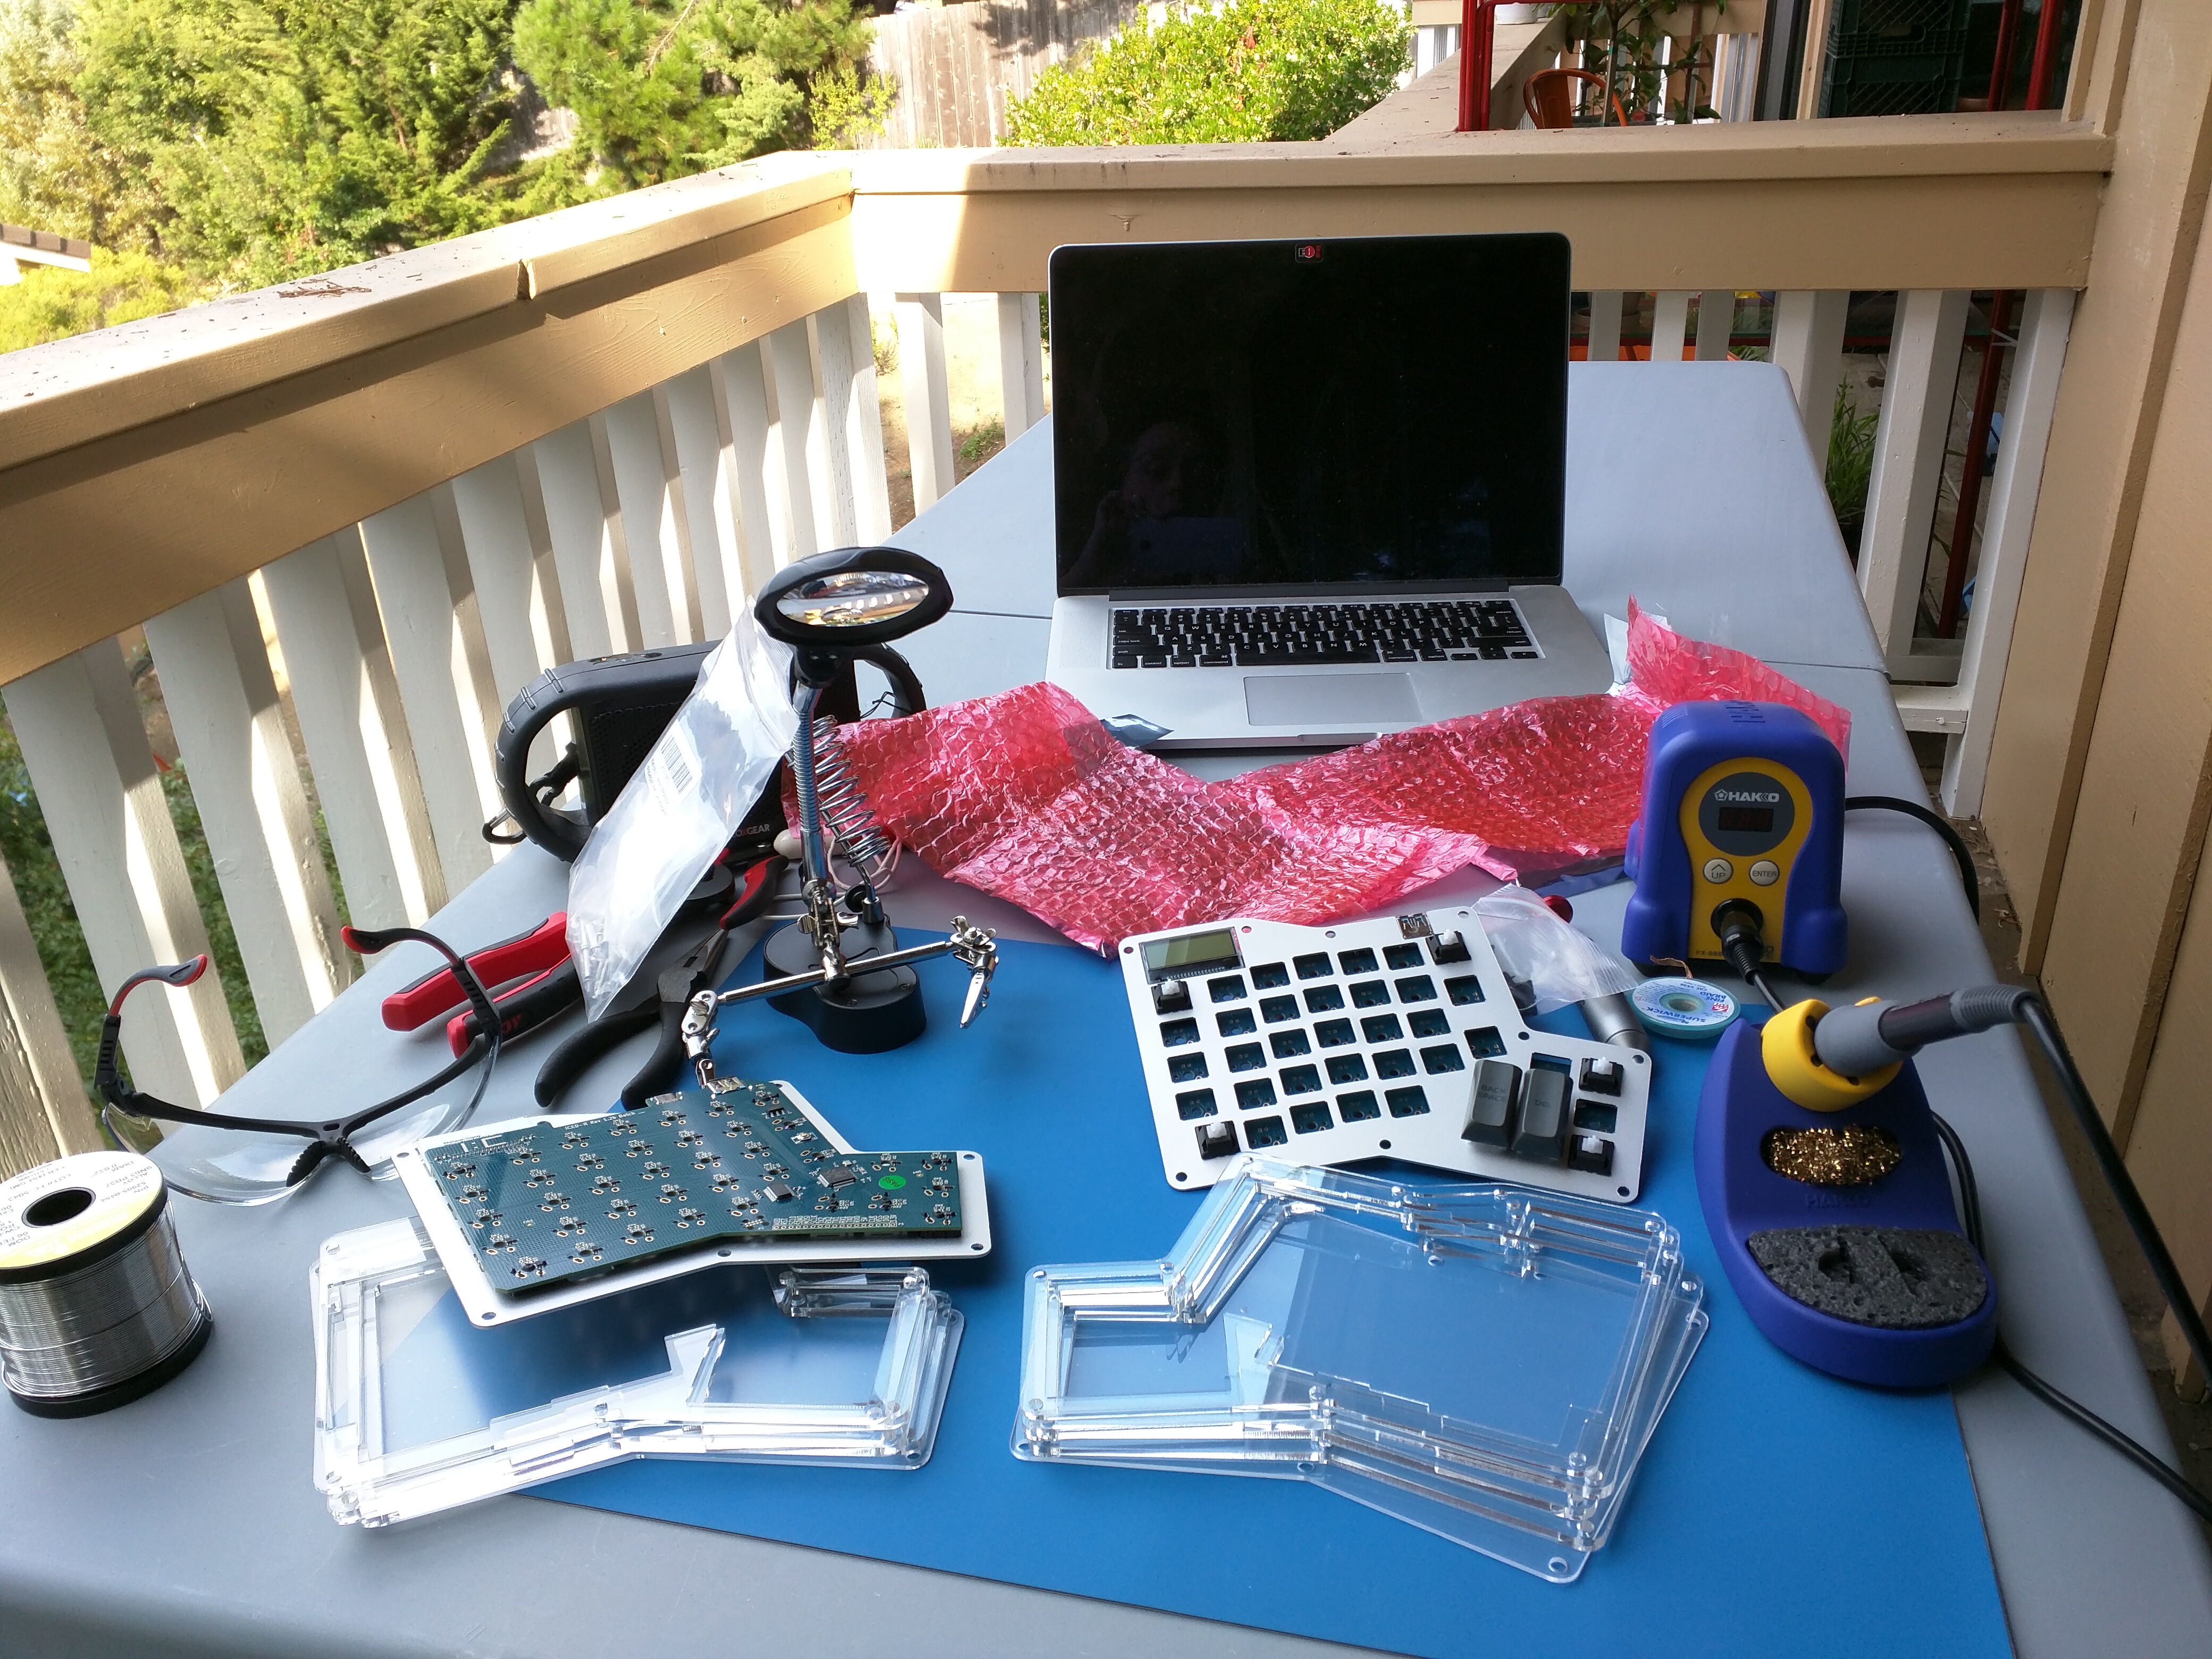
I actually hadn't done any soldering since my undergraduate days in an electrical engineering program. But I read up, worked through some soldering practice kits, and set up shop on a little balcony for max ventilation. Whack on a podcast and it goes pretty quickly!
Configuring
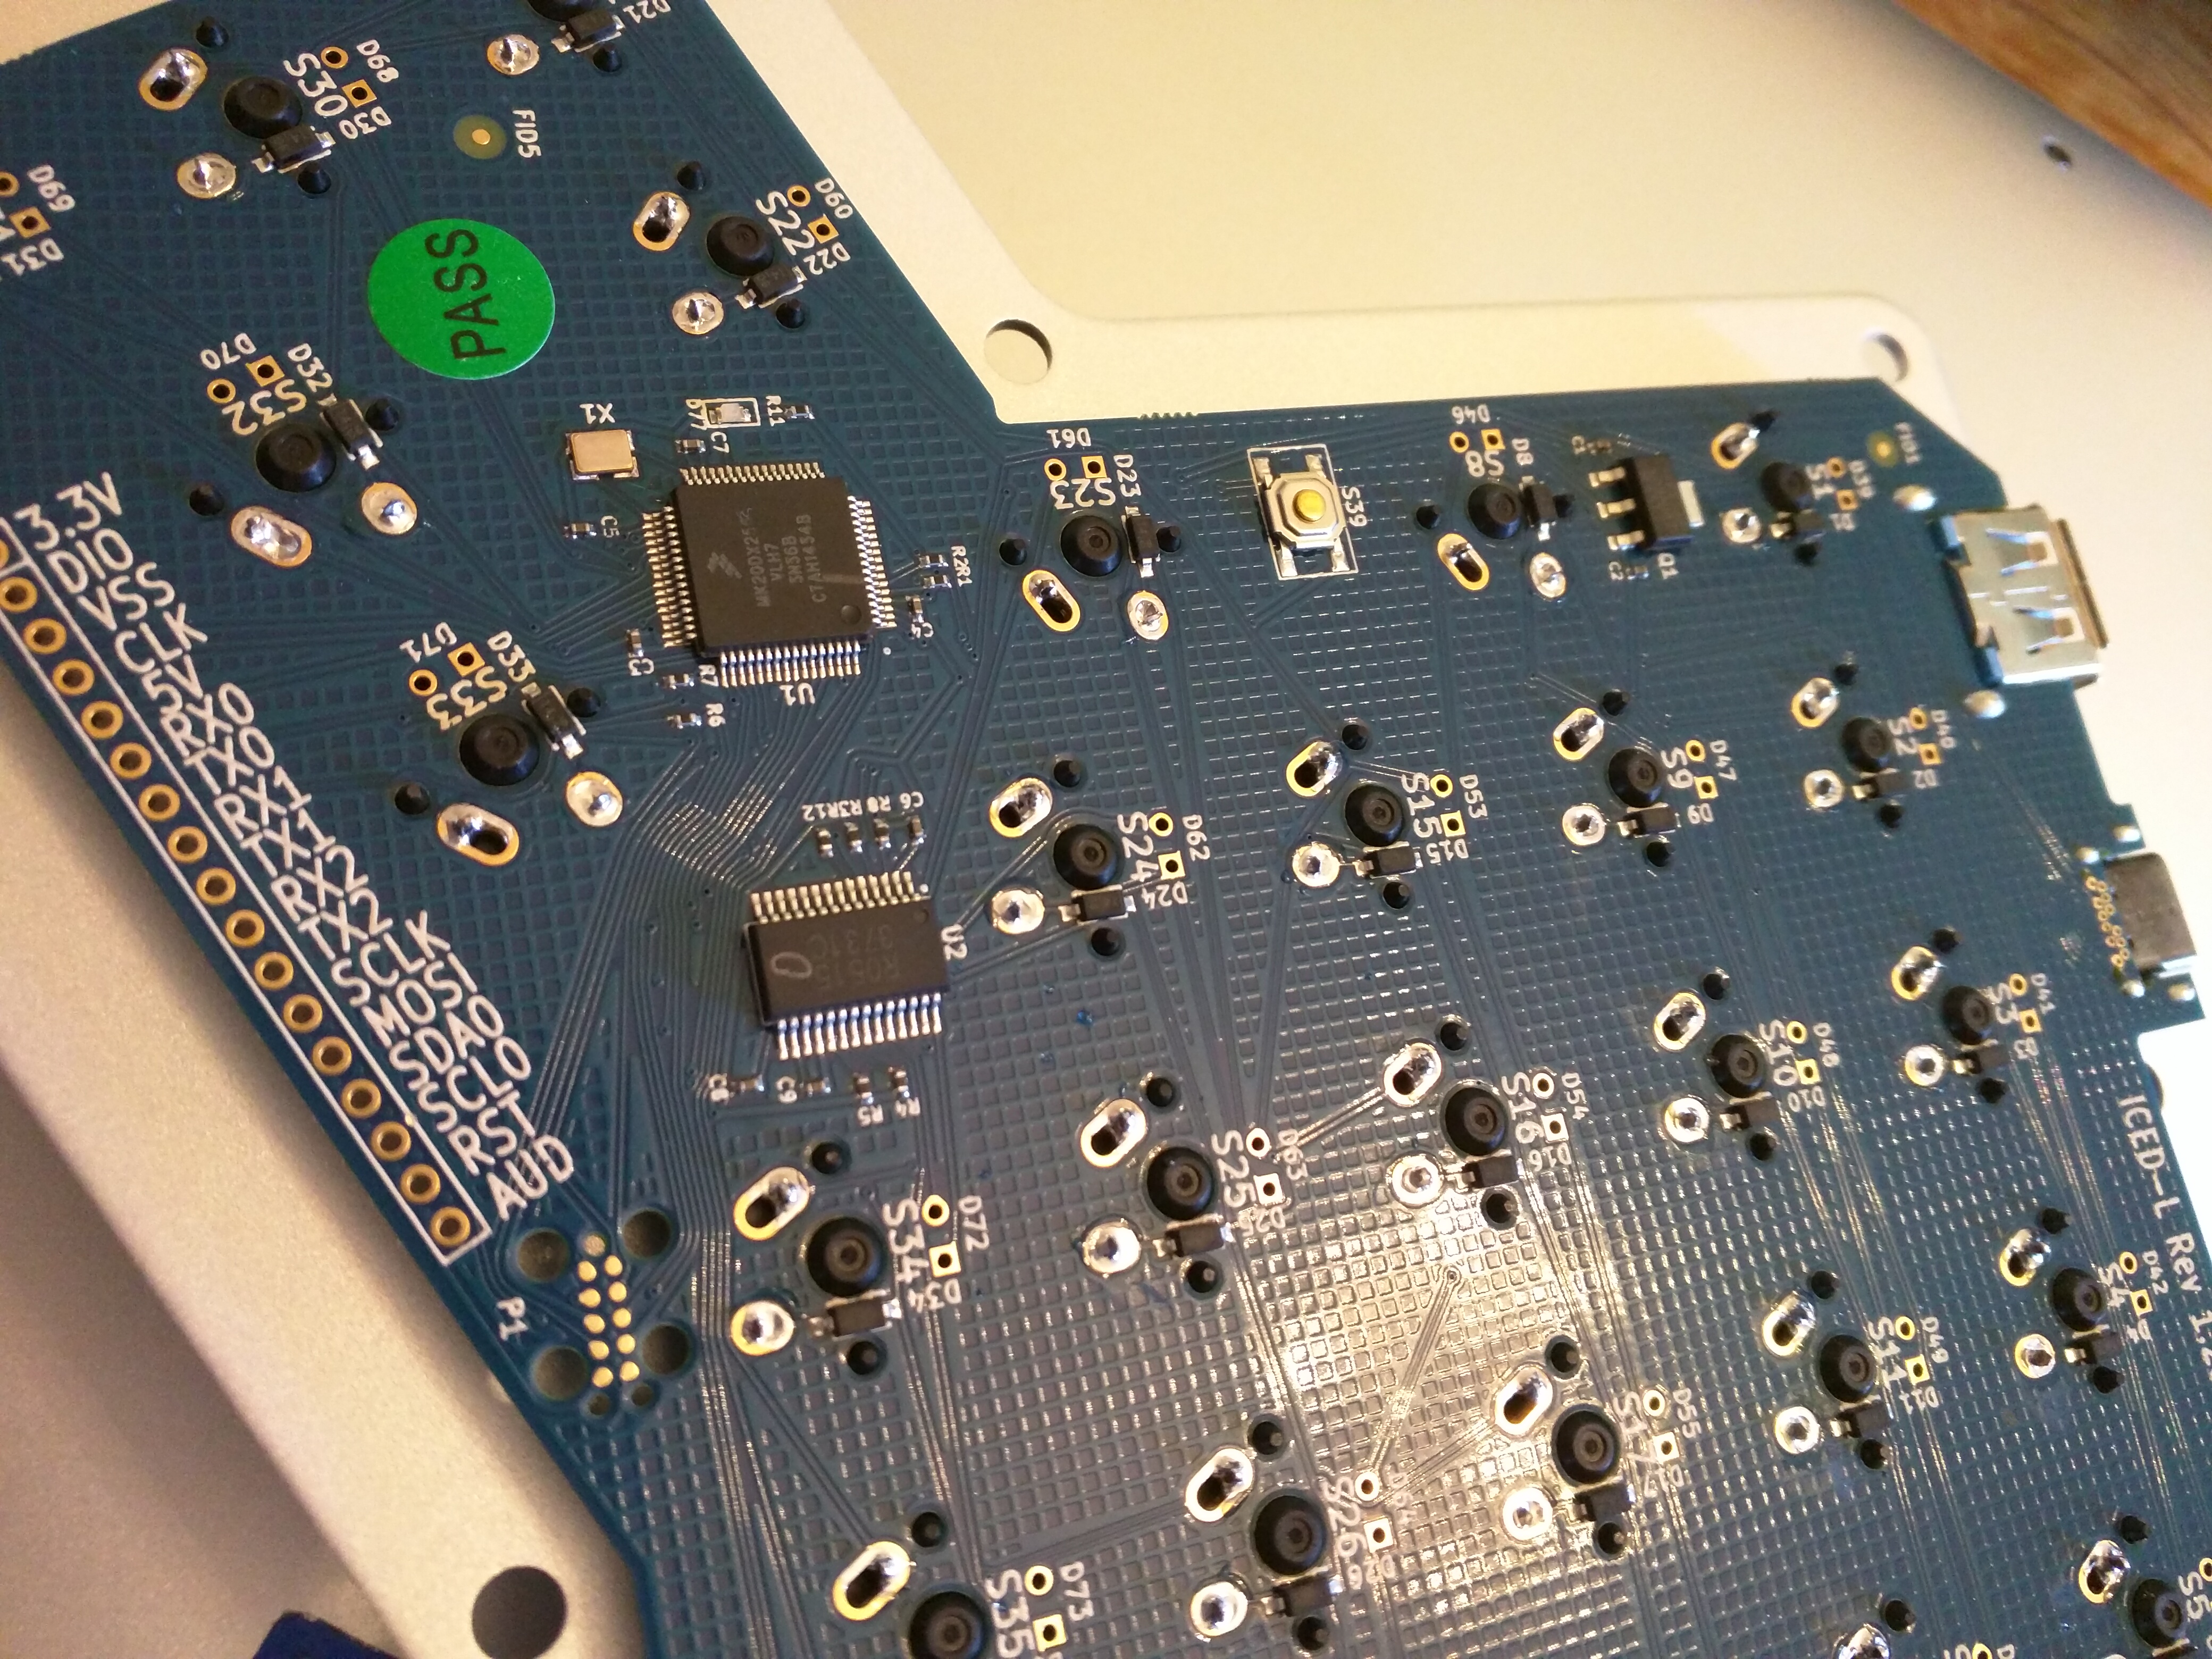
Now when you push down on one of your fancy keycaps and it depresses your carefully chosen switch so that the relevant circuit is closed on the board, what happens? In modern keyboards this is just an input to a microcontroller on the board which looks back at you and says "Well... what do you want to happen?" It can and in most cases should be something as simple as "generate the code for the character A" but you can get almost arbitrarily arcane: choosing special things to happen if combos or sequences of keys are pressed, and/or having some inputs put your keyboard into a different mode that changes the keypress behaviors across the board. Your motivation for such shenanigans might be ergonomic, or maybe you have common operations like volume-mute or "lock my screen" that you want to map to a single keypress, or maybe you just enjoy being a keyboard wizard.
My Infinity Ergodox used Kiibohd firmware. If you're curious you can poke around in the wiki there to see what was possible with that system, but for reasons that will be clear later I'm not going to get into the configuration much at this point.
A few firmware-flashing test cycles later, my keyboard was good to go! And then after another eight months, I finally received the keycaps I had selected for it!
Seems kind of ... finished, doesn't it? As projects go? Well yes. Actually this is NOT (yet) the project I referred to in the opening paragraph, depending on where you draw the boundaries of things I guess, but regardless it is very relevant and is great for background. :-)
The follow-on post to this one is now up. Wherein the plot thickens in its own mundanely nerdy way.


 Steamed Myth
 Apple on Deck
 Keyboard Waffle
 Clan 9 From Outer Space
 PlanetQuake Interview
 Custom Maps @ kitty1
 ClanRing Tourney 3 Demos


 ) except where indicated otherwise