Keyboard Waffle, part 2
(Following, of course, part 1.)
When we last saw our hero, he had built his first mechanical keyboard. And looking upon his creation, he saw that indeed it was pretty sweet.
Then it broke.
Well, let's back up a bit. When I first got the kit in late 2017 and put it together with the temporary DSA Granite keycaps, I started using it as my "daily driver" for work. At the time I worked at a startup that was renting space over a restaurant, not exactly a secure place to leave stuff overnight. So I carted the keyboard back and forth, plugging and unplugging it from my laptop, and folding the two "hands" with their connecting cable into a little carrying bag. When the SA Carbon keycaps arrived, I swapped those in and kept up with my commute habits.
In the meantime I was fiddling with the keyboard's configuration to get the key layout and modes/features dialed in juuuust the way I wanted. I went through a dozen revisions over about a year of use.
And in late 2018, it stopped working.
When I had received the kit, the USB connectors (for the cable between "hands" and for board-to-computer) were already surface-mounted to the circuit boards. They weren't braced/supported by the case in any way, just kind of accessible through a hole in the back. I didn't think anything of that at the time.
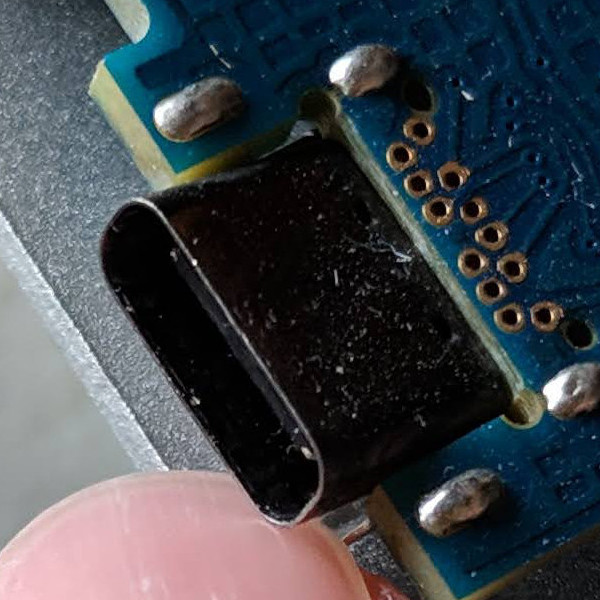
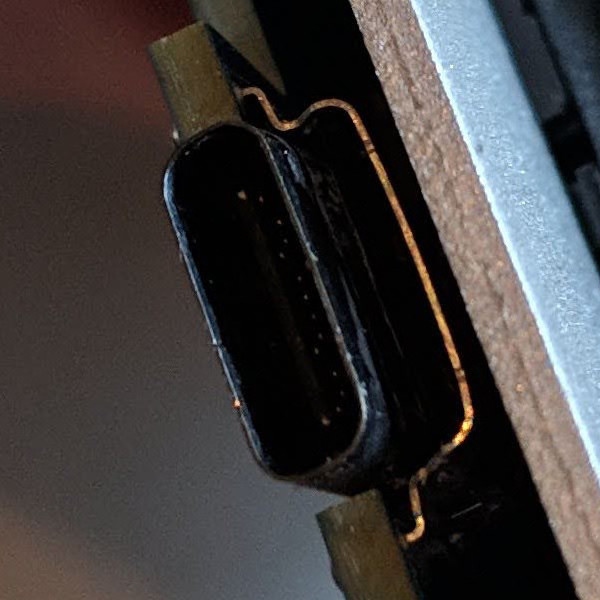
I like to think I'm not a brute to my electronics, but I guess my daily routine stressed the connectors anyway. Eventually one of them broke mostly free of the circuit board and some of the others were getting wobbly. Here's a couple of views of the most problematic one; normally the top side of it would have been flush with that little metal bracket:
To get access to these connectors for a repair attempt, I'd have to desolder all the switches. Then I'd need to find a way to replace surface-mounted parts, which was not in my toolbag or skillset. I couldn't get a good lead on the surface-mounting part of the problem so I didn't even start on the desoldering.
While I was spinning my wheels on that, another Ergodox kit became available -- the "Hot Dox" -- which didn't require soldering switches. I figured I would drown my sorrows in a couple of those. I could rescue the keycaps from the first board, try out a different keycaps design too (MT3 Godspeed), and experiment with different switch types.
A few issues needed solving before I could do the builds though.
Then we welcomed a daughter into our family.
Then we bought a house and moved.
By this time my various unfinished projects were boxed and packed away like the end scene of Raiders of the Lost Ark, the know-how and motivation for them fading away. The amount of time, thought, expense, and effort sunk into this one did pester me though. So before all the relevant bits completely fell out of my head -- as mentioned way back at the start of part 1 -- I decided to take some holiday break time to bring it to the finish line.
OK! What were those aforementioned issues to solve?
Connector bracing
One thing for sure, I didn't want the USB connectors to pull free of the board again. And when I got the Hot Dox boards, they had the exact same potential issue as the Infinity Ergodox. It seemed like it would be a good idea to put something above and below each connector to brace it against the case. But if the bracing substance was too soft it wouldn't help; too hard and I'd have to precisely shape it. Another question was how to get it to stick in place without looking ugly.
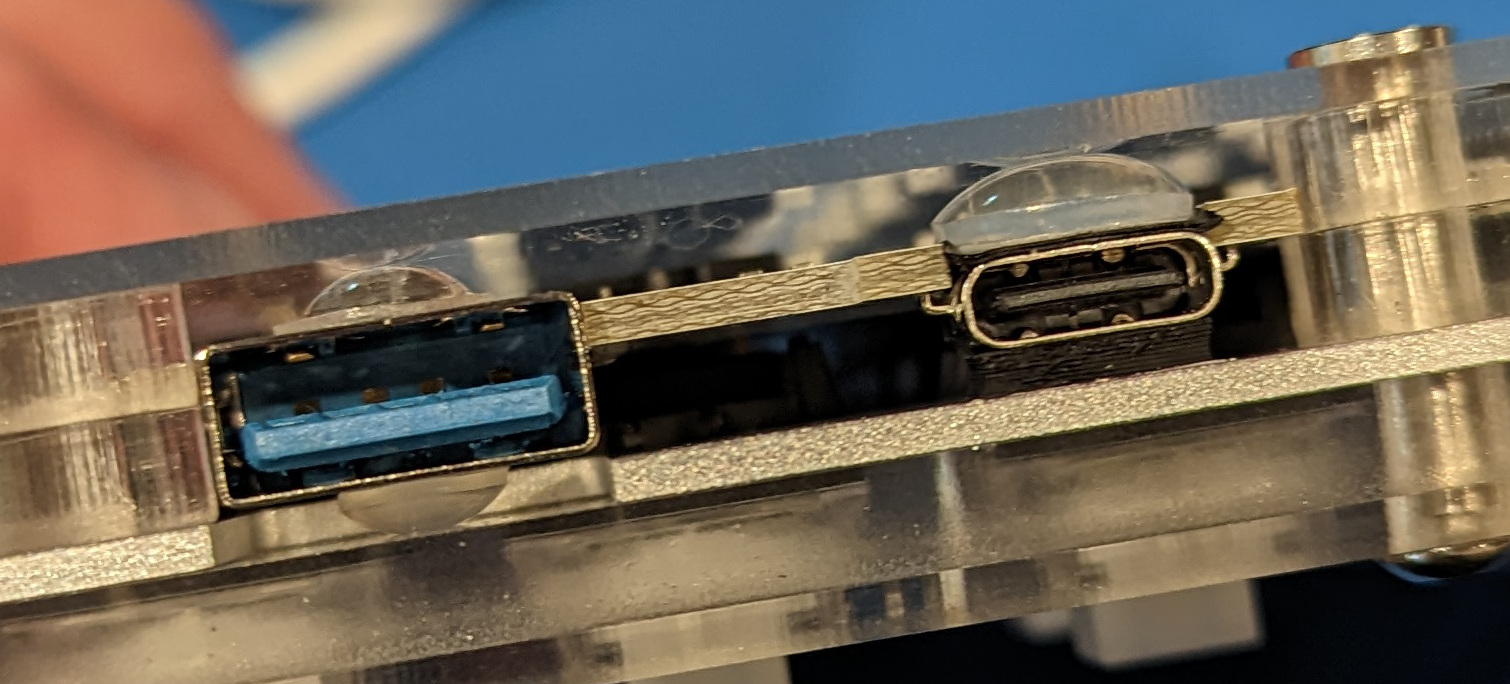
In the end I used "bumpons" of various heights. These are the little clear rubber domes, with adhesive along the flat side, usually used as stick-on feet for things (such as keyboards, incidentally). I had four different sized gaps to deal with; for two of them I found a good matching bumpon, one of them was filled pretty well by a bumpon sitting on two layers of 7 mil electrical tape, and one gap (the least visible) I just filled with 9 layers of that tape.
I'm not actually sure how effective this will be, but it feels reassuring.
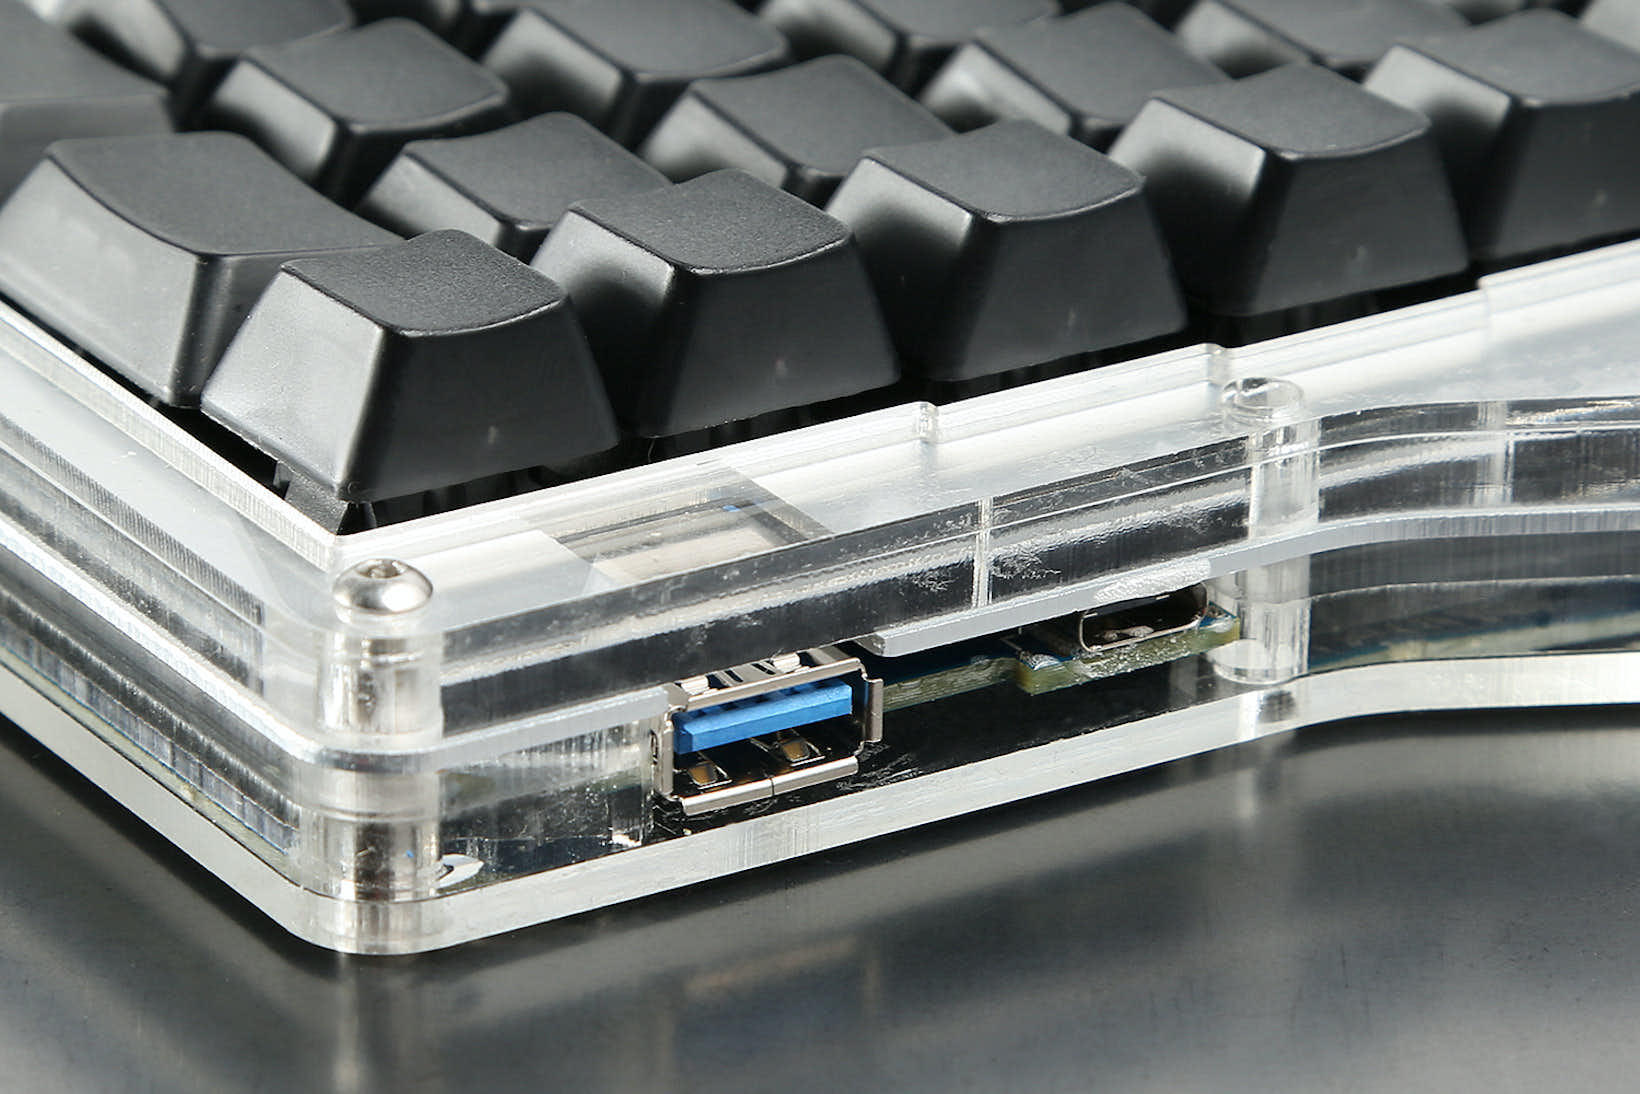
Incidentally, when gathering pictures for these posts, I noticed that the Infinity Ergodox page at drop.com has been updated at least once since the buy that I participated in. And it looks like in later revisions of that keyboard kit they have addressed the connector stability, at least for the USB-C ports:
Which doesn't help me now, of course, but it probably means I wasn't especially unlucky or abusive with my board.
LEDs
Another issue was the lack of an LCD screen to provide feedback about the keyboard state. I would have to take this into account in configuration, but first I needed to see what kind of feedback indicators I could get from the keyboard.
From looking into the configuration code it seemed like there were three LEDs that could be turned on/off. Interrogating a company rep helped me find the appropriate LED pads, but it was a little odd because it looked like any LEDs there would be obstructed by the plate above the circuit board that held the switches. Also I had no indication on what size and voltage of LED to use.
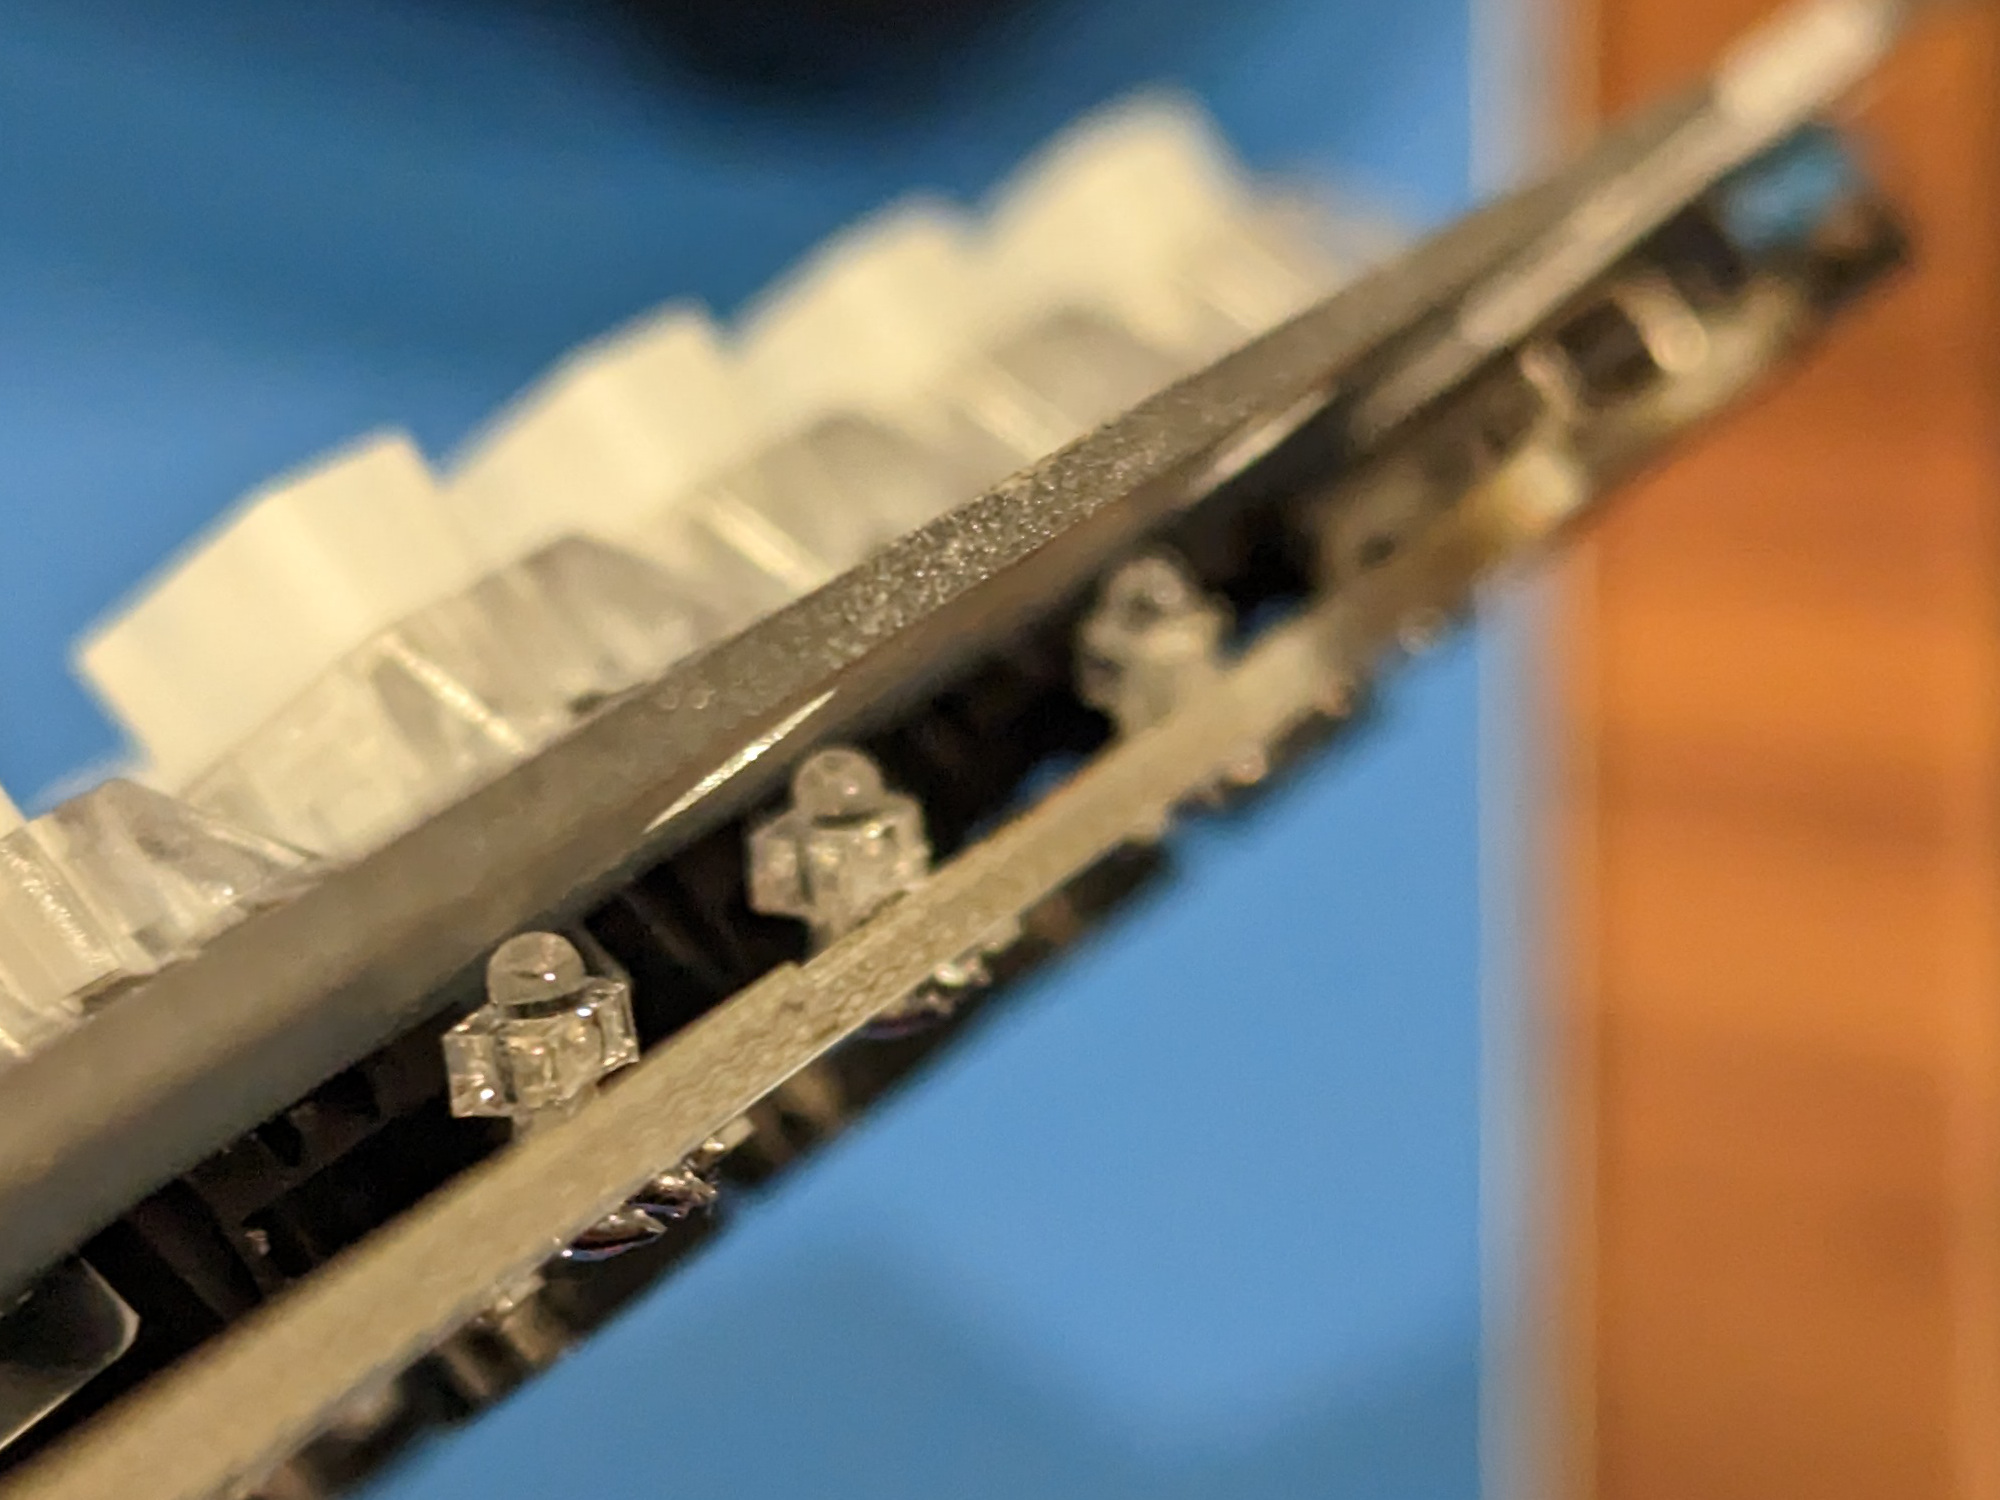
After a little experimentation I decided to go with some 1.8mm LEDs of the kind that would normally be used for per-key lighting. Even these tiny boys wouldn't quite fit under the switch plate if standing straight up, but when bent over at an angle they kinda did:
That's a red, green, and blue LED. We'll check later how useful-in-practice they'll be as indicator lights.
Switches
The Ergodox key layout has "thumb clusters" of keys, and usually the big keys in those clusters will be used for common things like space, backspace, enter, and shift. Using the sides of my thumbs to hit these keys was no worse than for a "normal" spacebar I guess, but at least with my Infinity Ergodox it had felt like I was putting too much side force on my thumb joint. So back when I ordered the switches for the two new kits, I had decided to use slightly-easier-to-push switches for the keys in the thumb cluster, and also for the outer column "pinky" keys while I was at it.
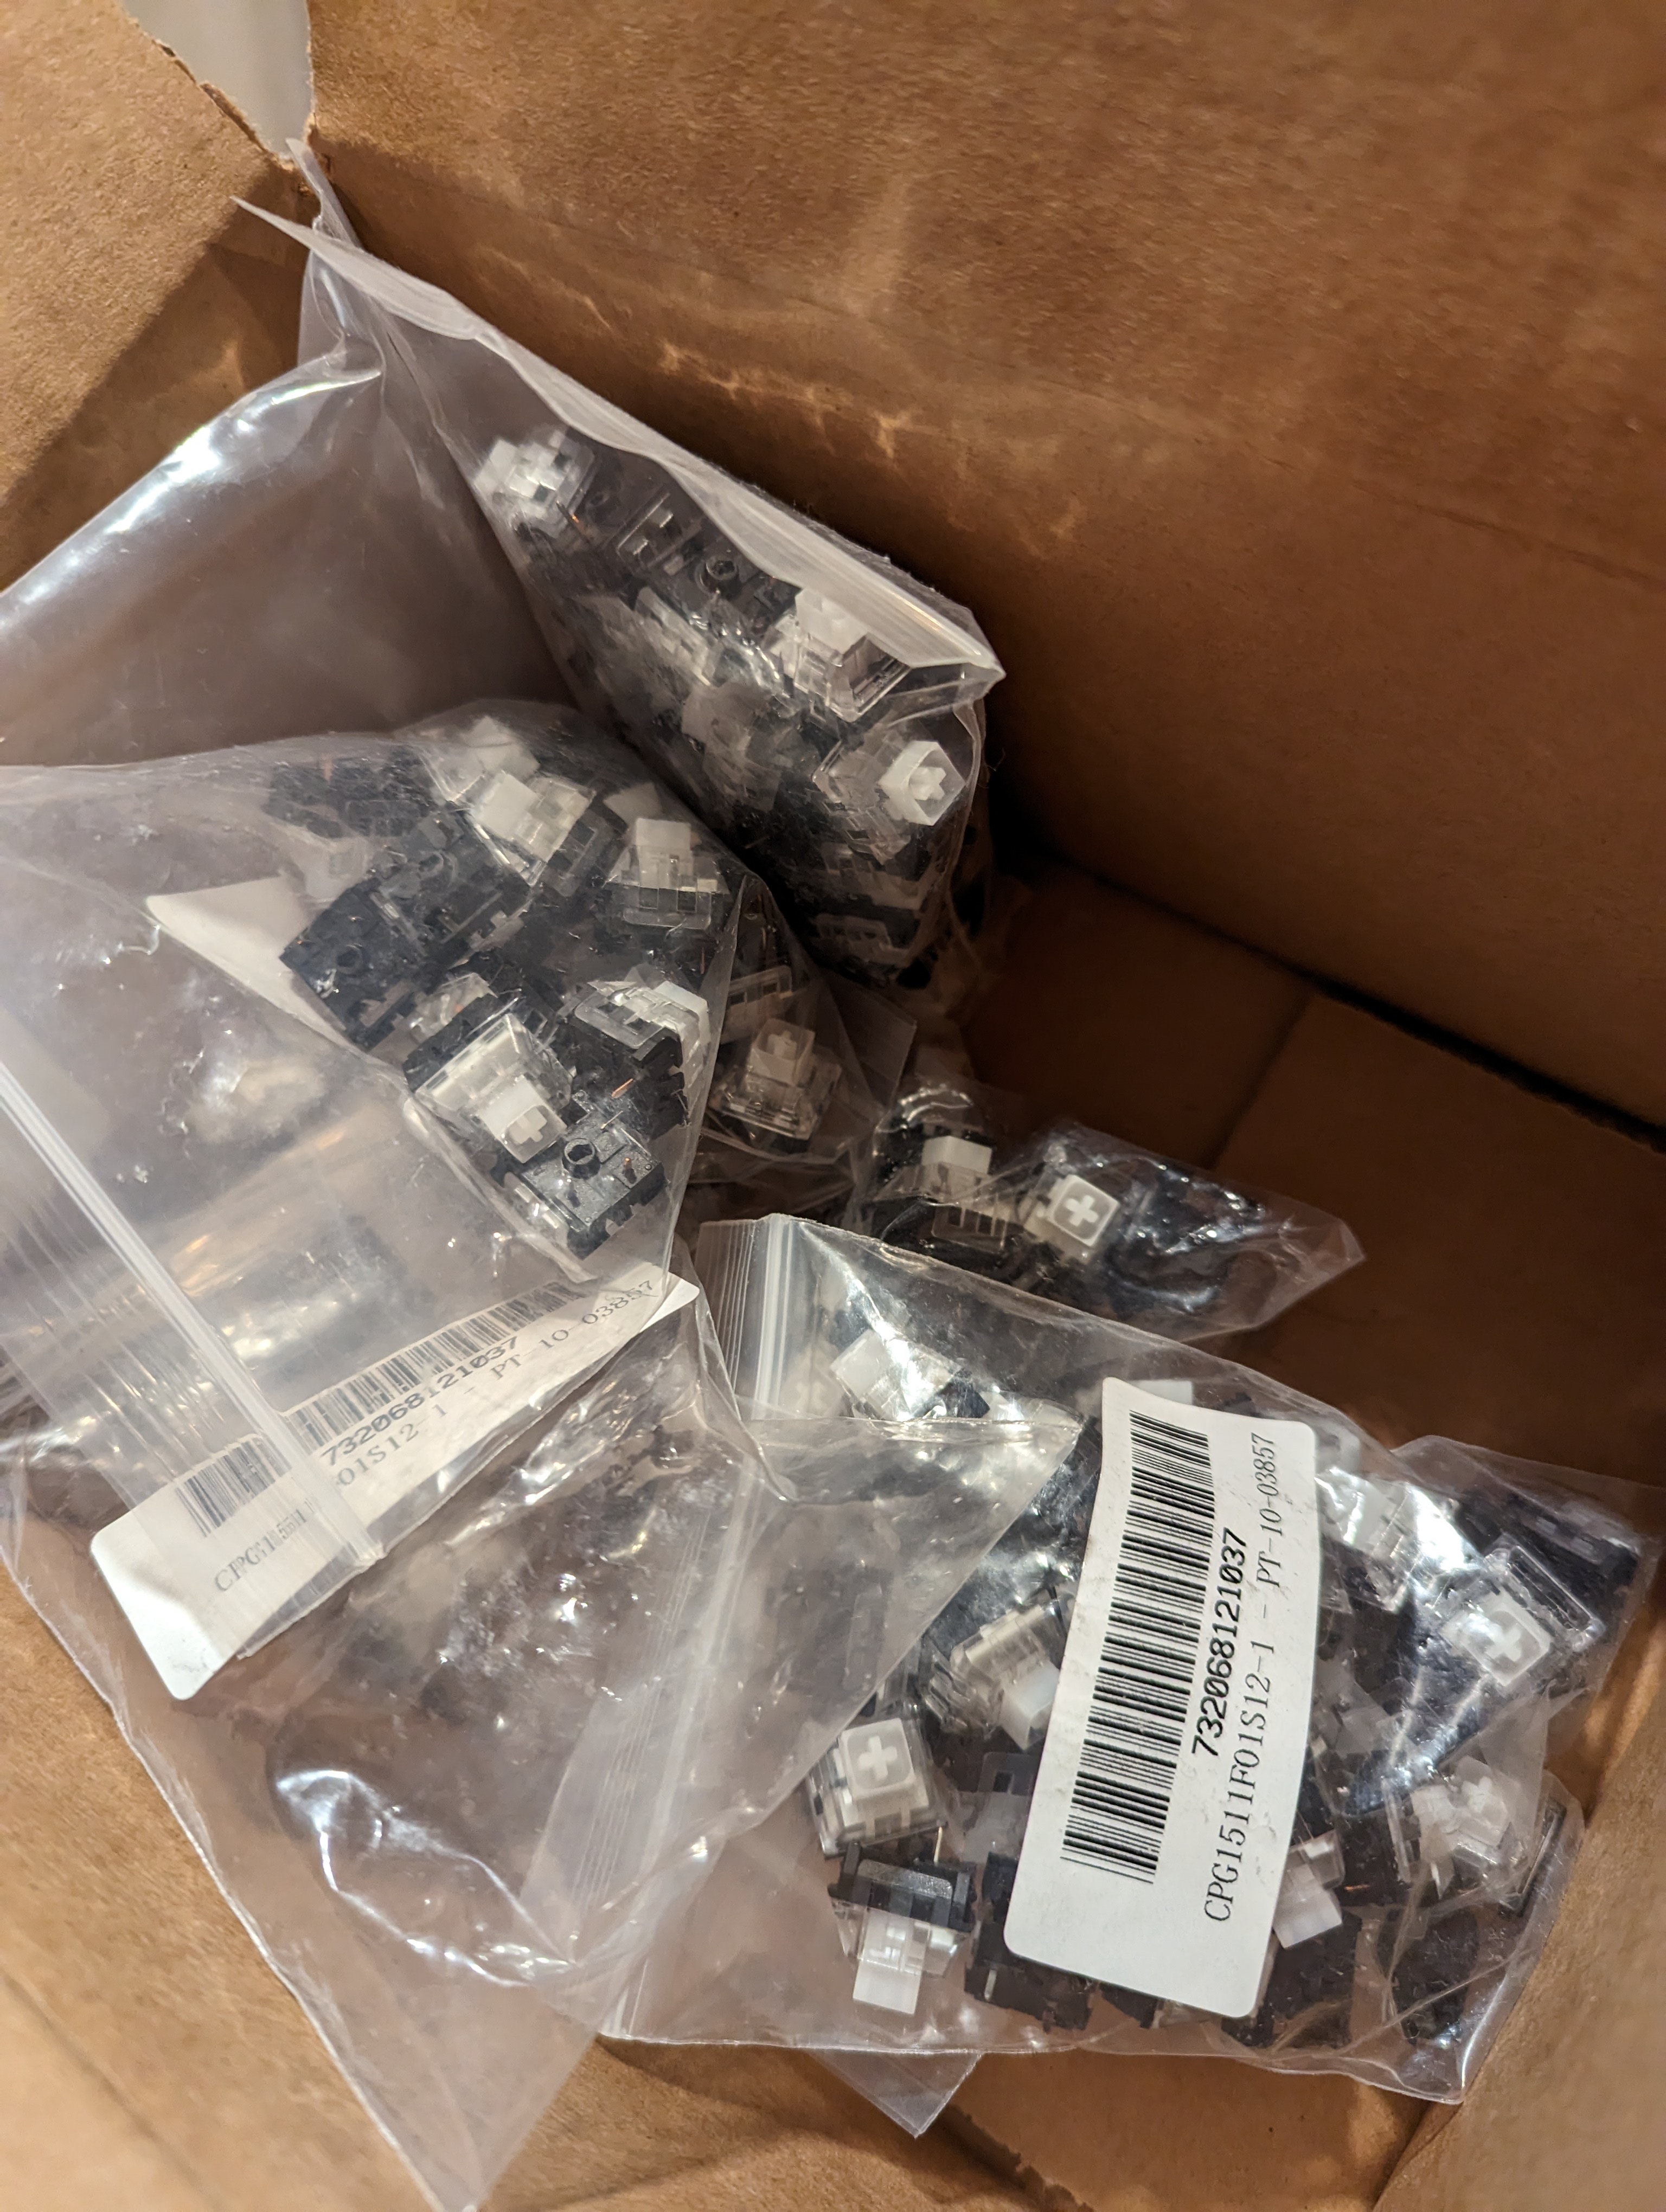
Unfortunately I hadn't really recorded my decision anywhere or marked what I had received, so in the present day I was left staring at a bunch of bags like this:
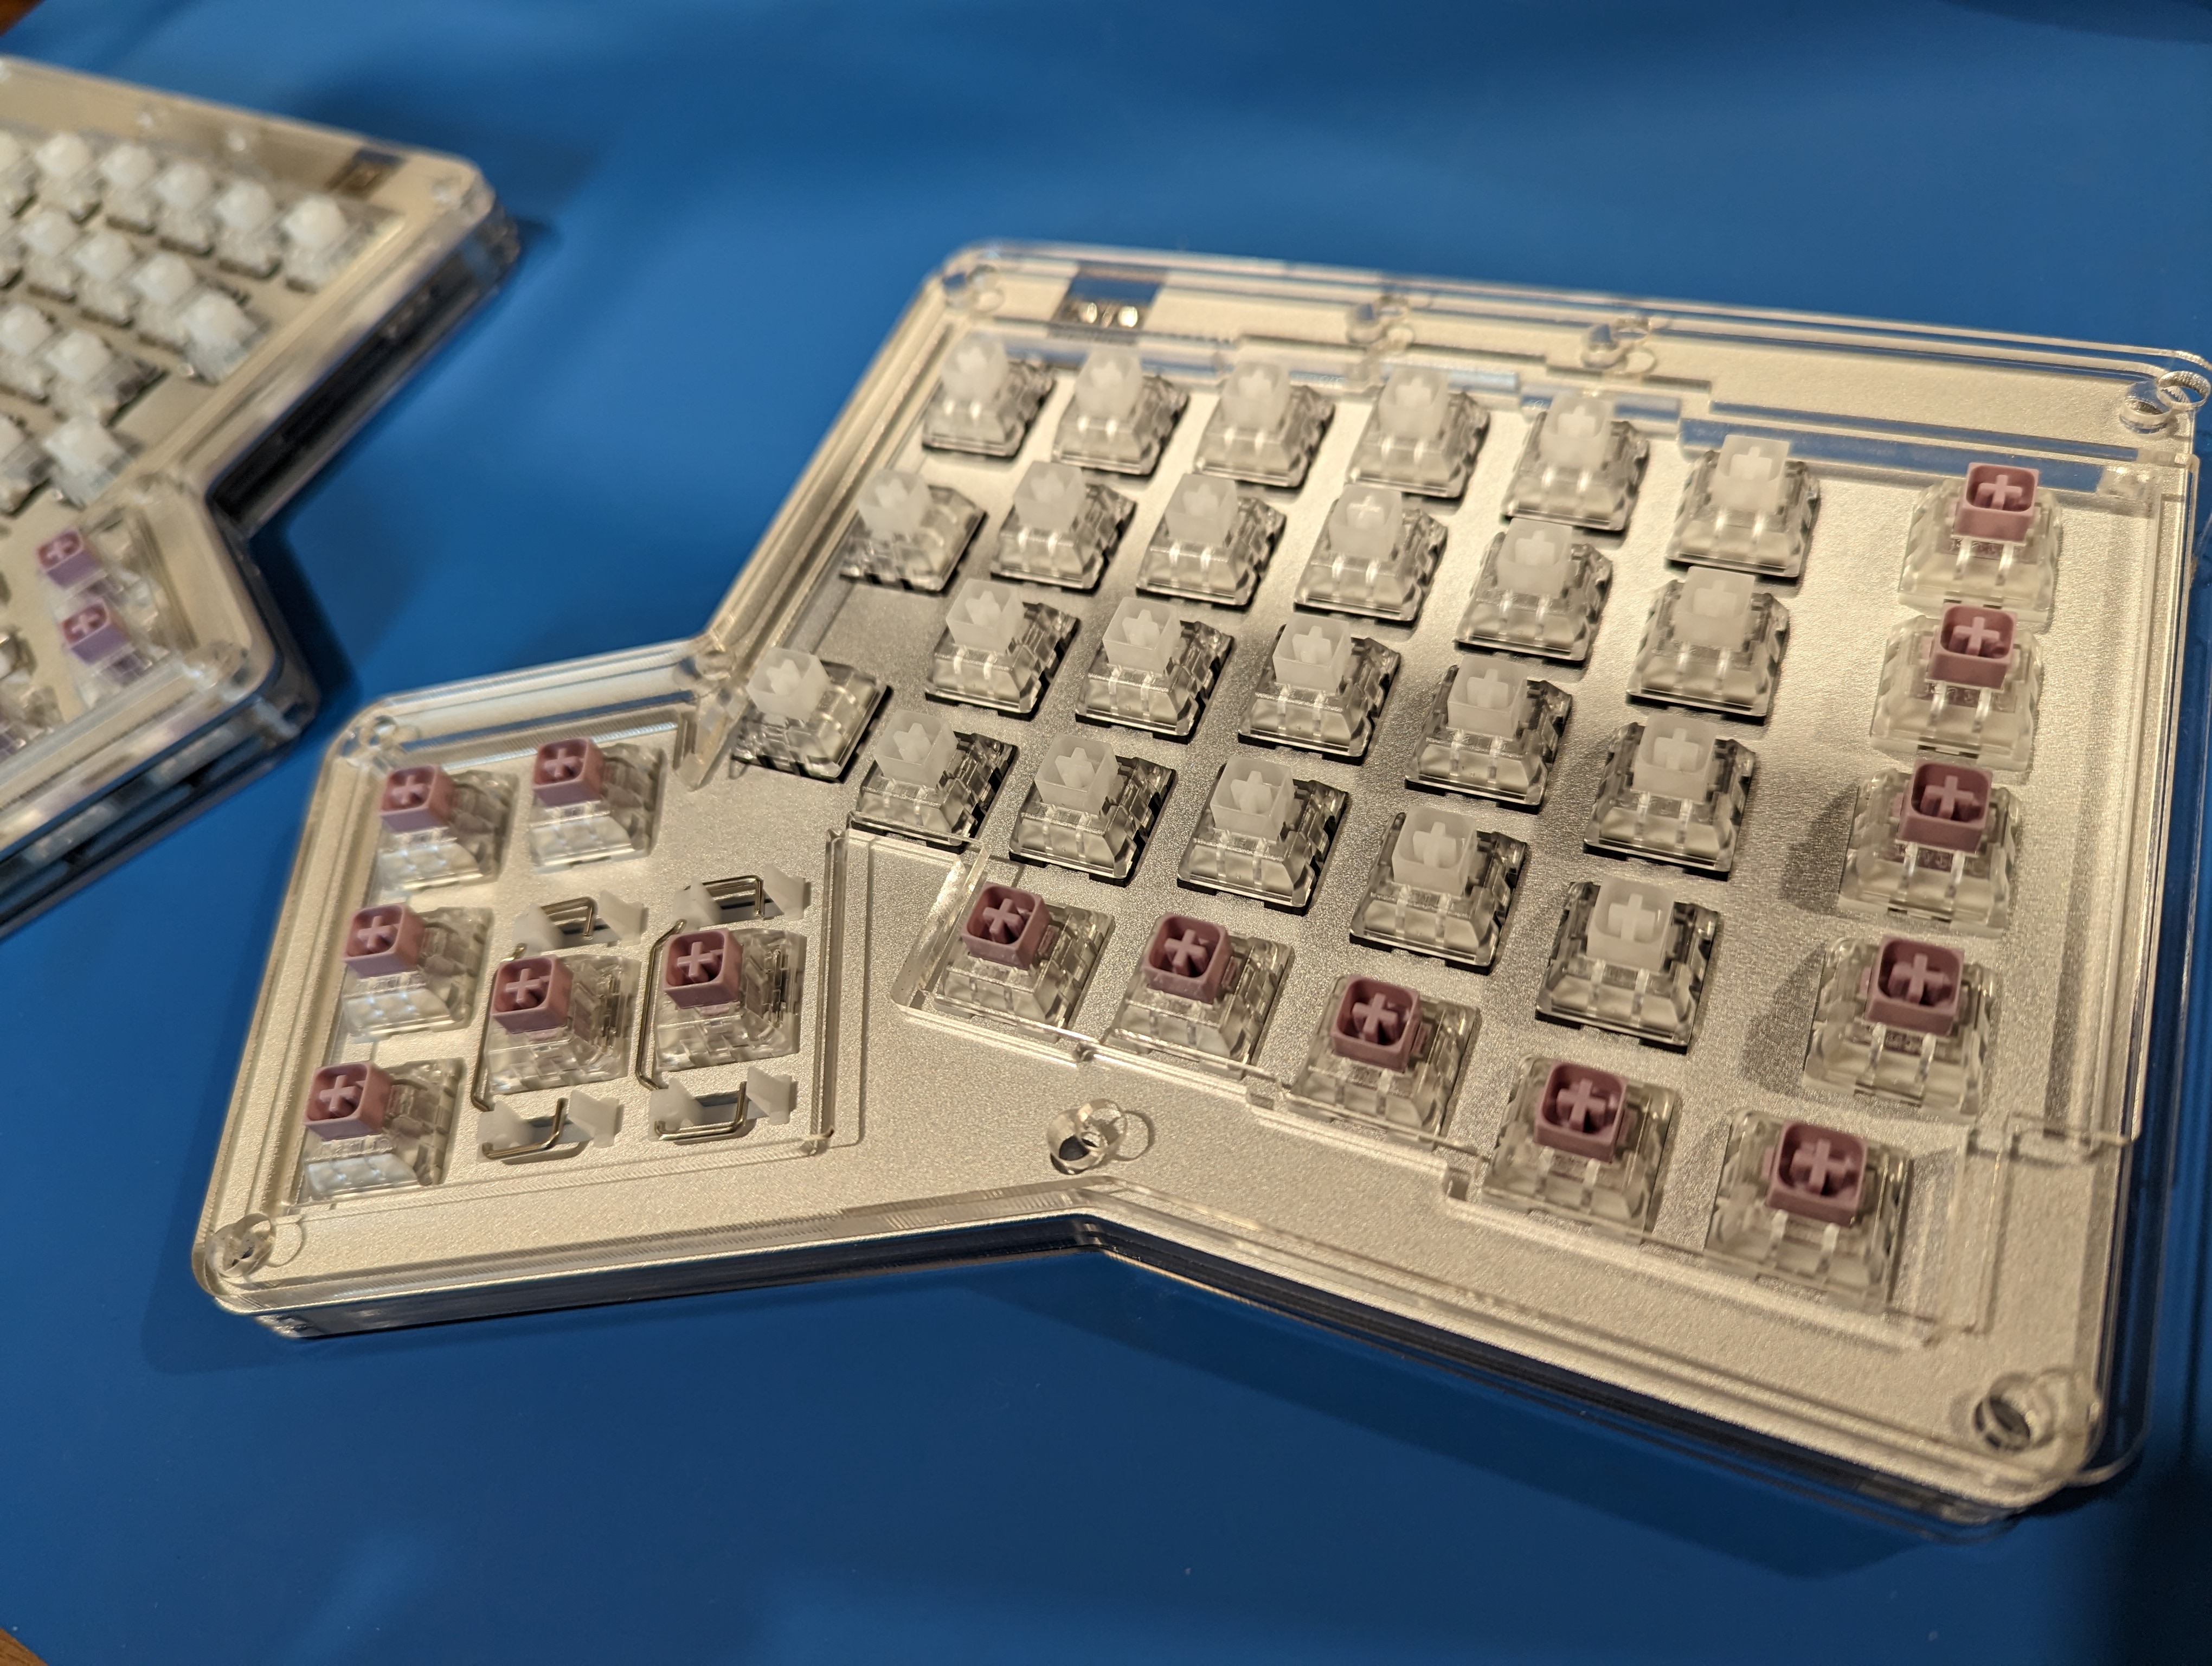
A bit of detective work from old receipts, card statements, and serial-numbers-on-bags cleared things up though. I believe I ended up with the following types -- which probably aren't the new hotness anymore! but still perfectly fine:
- Hako Clear, a non-clicky switch for the "main" keys of one board
- Hako Violet, also non-clicky, a lighter switch for the "outer" keys of that board
- Kailh BOX Navy, a clicky switch for the "main" keys of the other board
- Kailh BOX Jade, also clicky, a lighter switch for the "outer" keys of that board
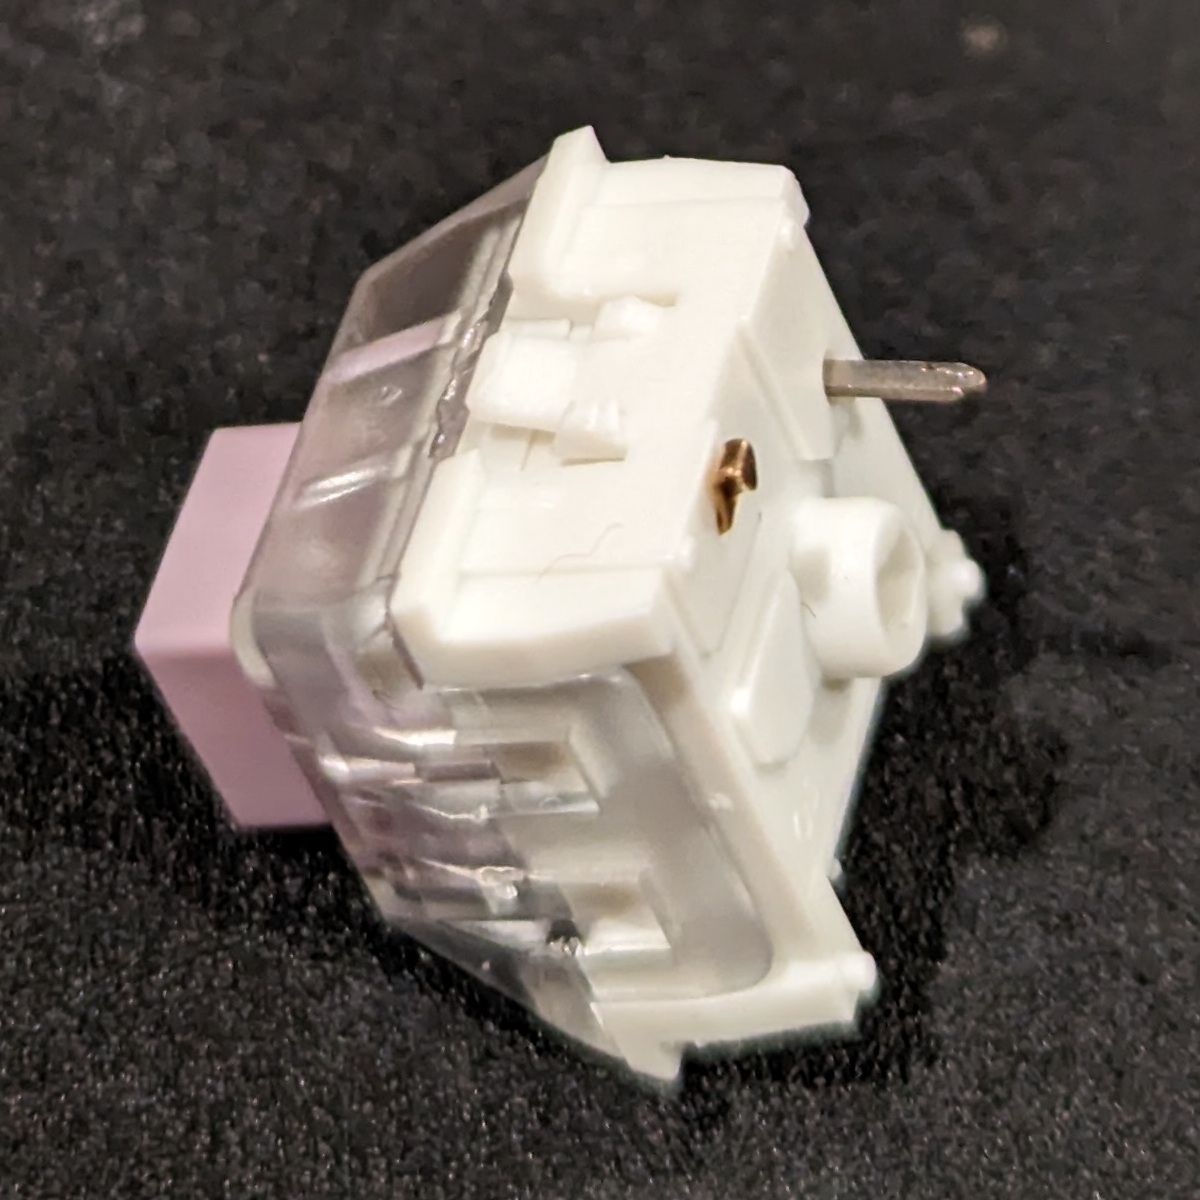
The remaining switches-related issue was getting their leads into the appropriate tiny spring-clamps on these "hotswap" boards. Sure, not needing to solder is nice, but until you get a feel for exactly how to jam these dudes into their sockets you can roll up one of the the switch leads like a New Year's party blower.
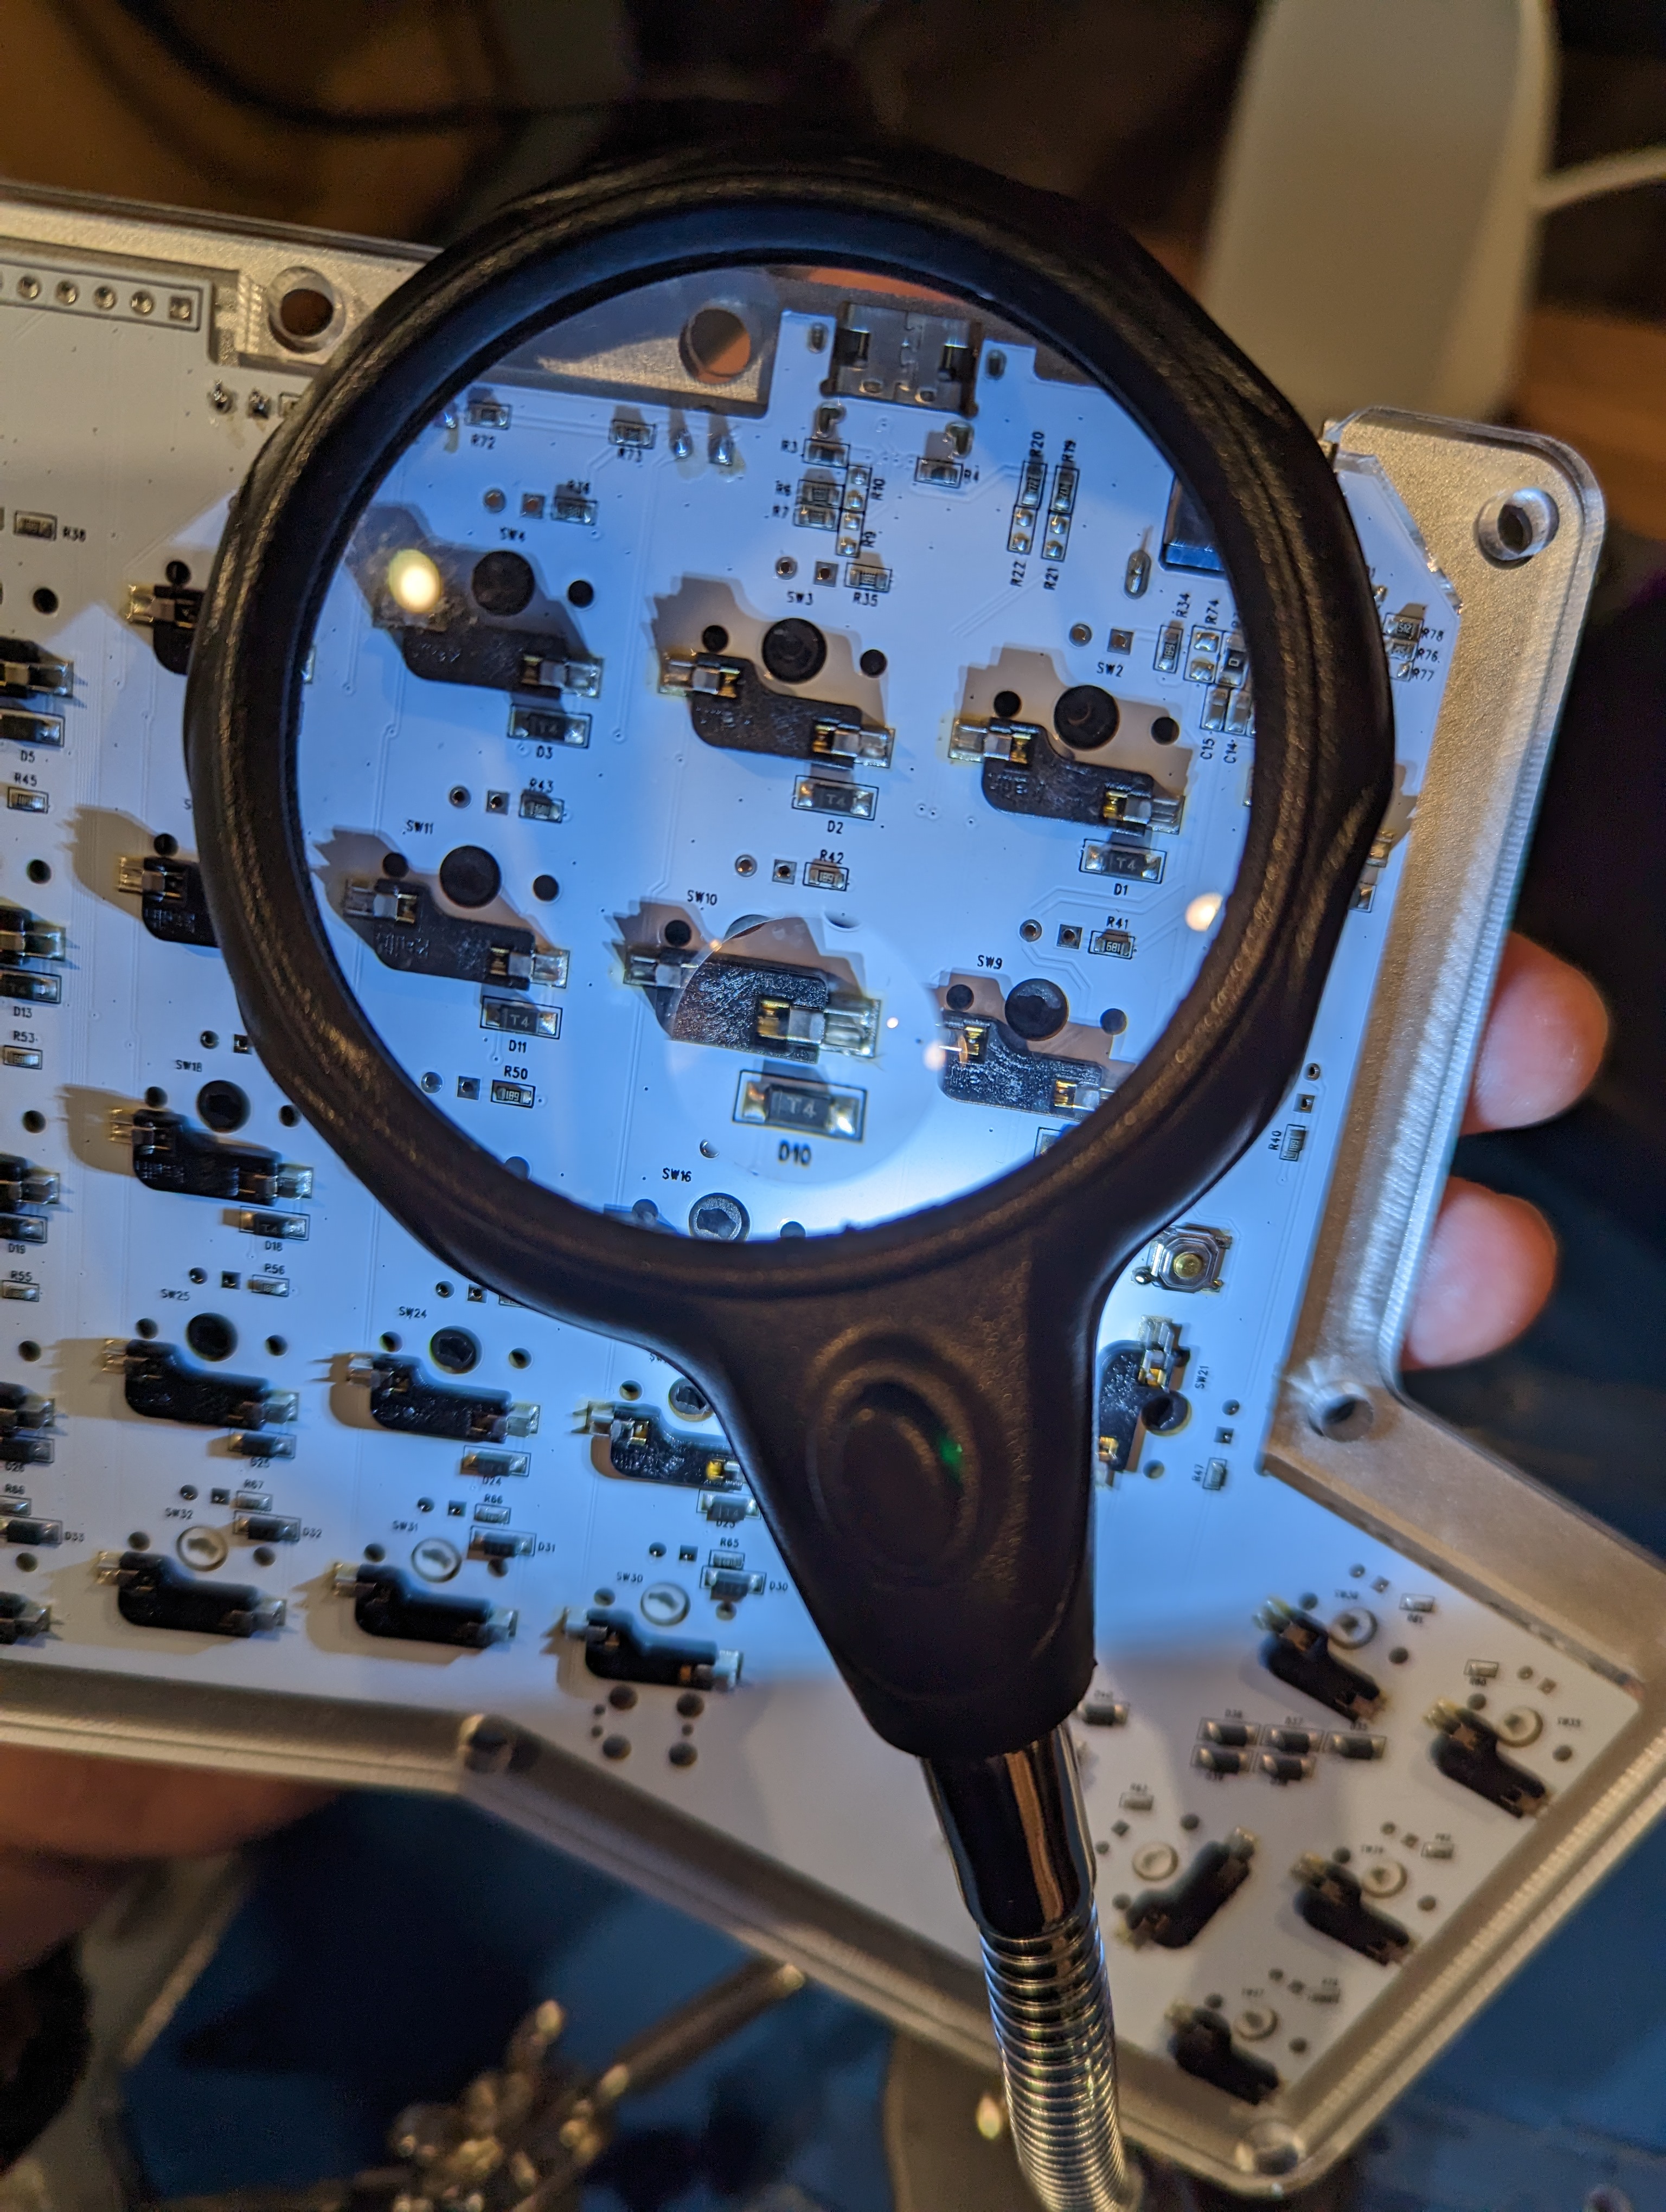
A magnifying lens helps in checking that the lead-tips have made it through, and once every switch is in place a test program like Switch Hitter can be useful to make sure that all your switches are behaving. Eventually, without destroying too many switches, I had the boards ready for keycaps.
Configuration
As mentioned previously my Infinity Ergodox used Kiibohd firmware for its configuration. For the Hot Dox though, I needed to use QMK instead.
The thought of redoing my laboriously-tuned configuration from scratch in a different system -- and the inevitable subsequent debugging -- was another source of project inertia, but I give major kudos to Past Joel for going ahead with the "QMK port" while the config was still fresh in my head. Even without any actual keyboard to test it on.
Once I did get the keyboards ready to flash and test, I dug out that speculatively-written QMK config from years ago and it basically just worked! Although I still did end up revving it a few times to iron out some quirks and take advantage of QMK features. While QMK does (like Kiibohd) support doing some straightforward "map this key to this action" config, it also allows you to get in there and just start writing C code to manage some stuff if you like. Which is catnip to certain kinds of people, cough cough.
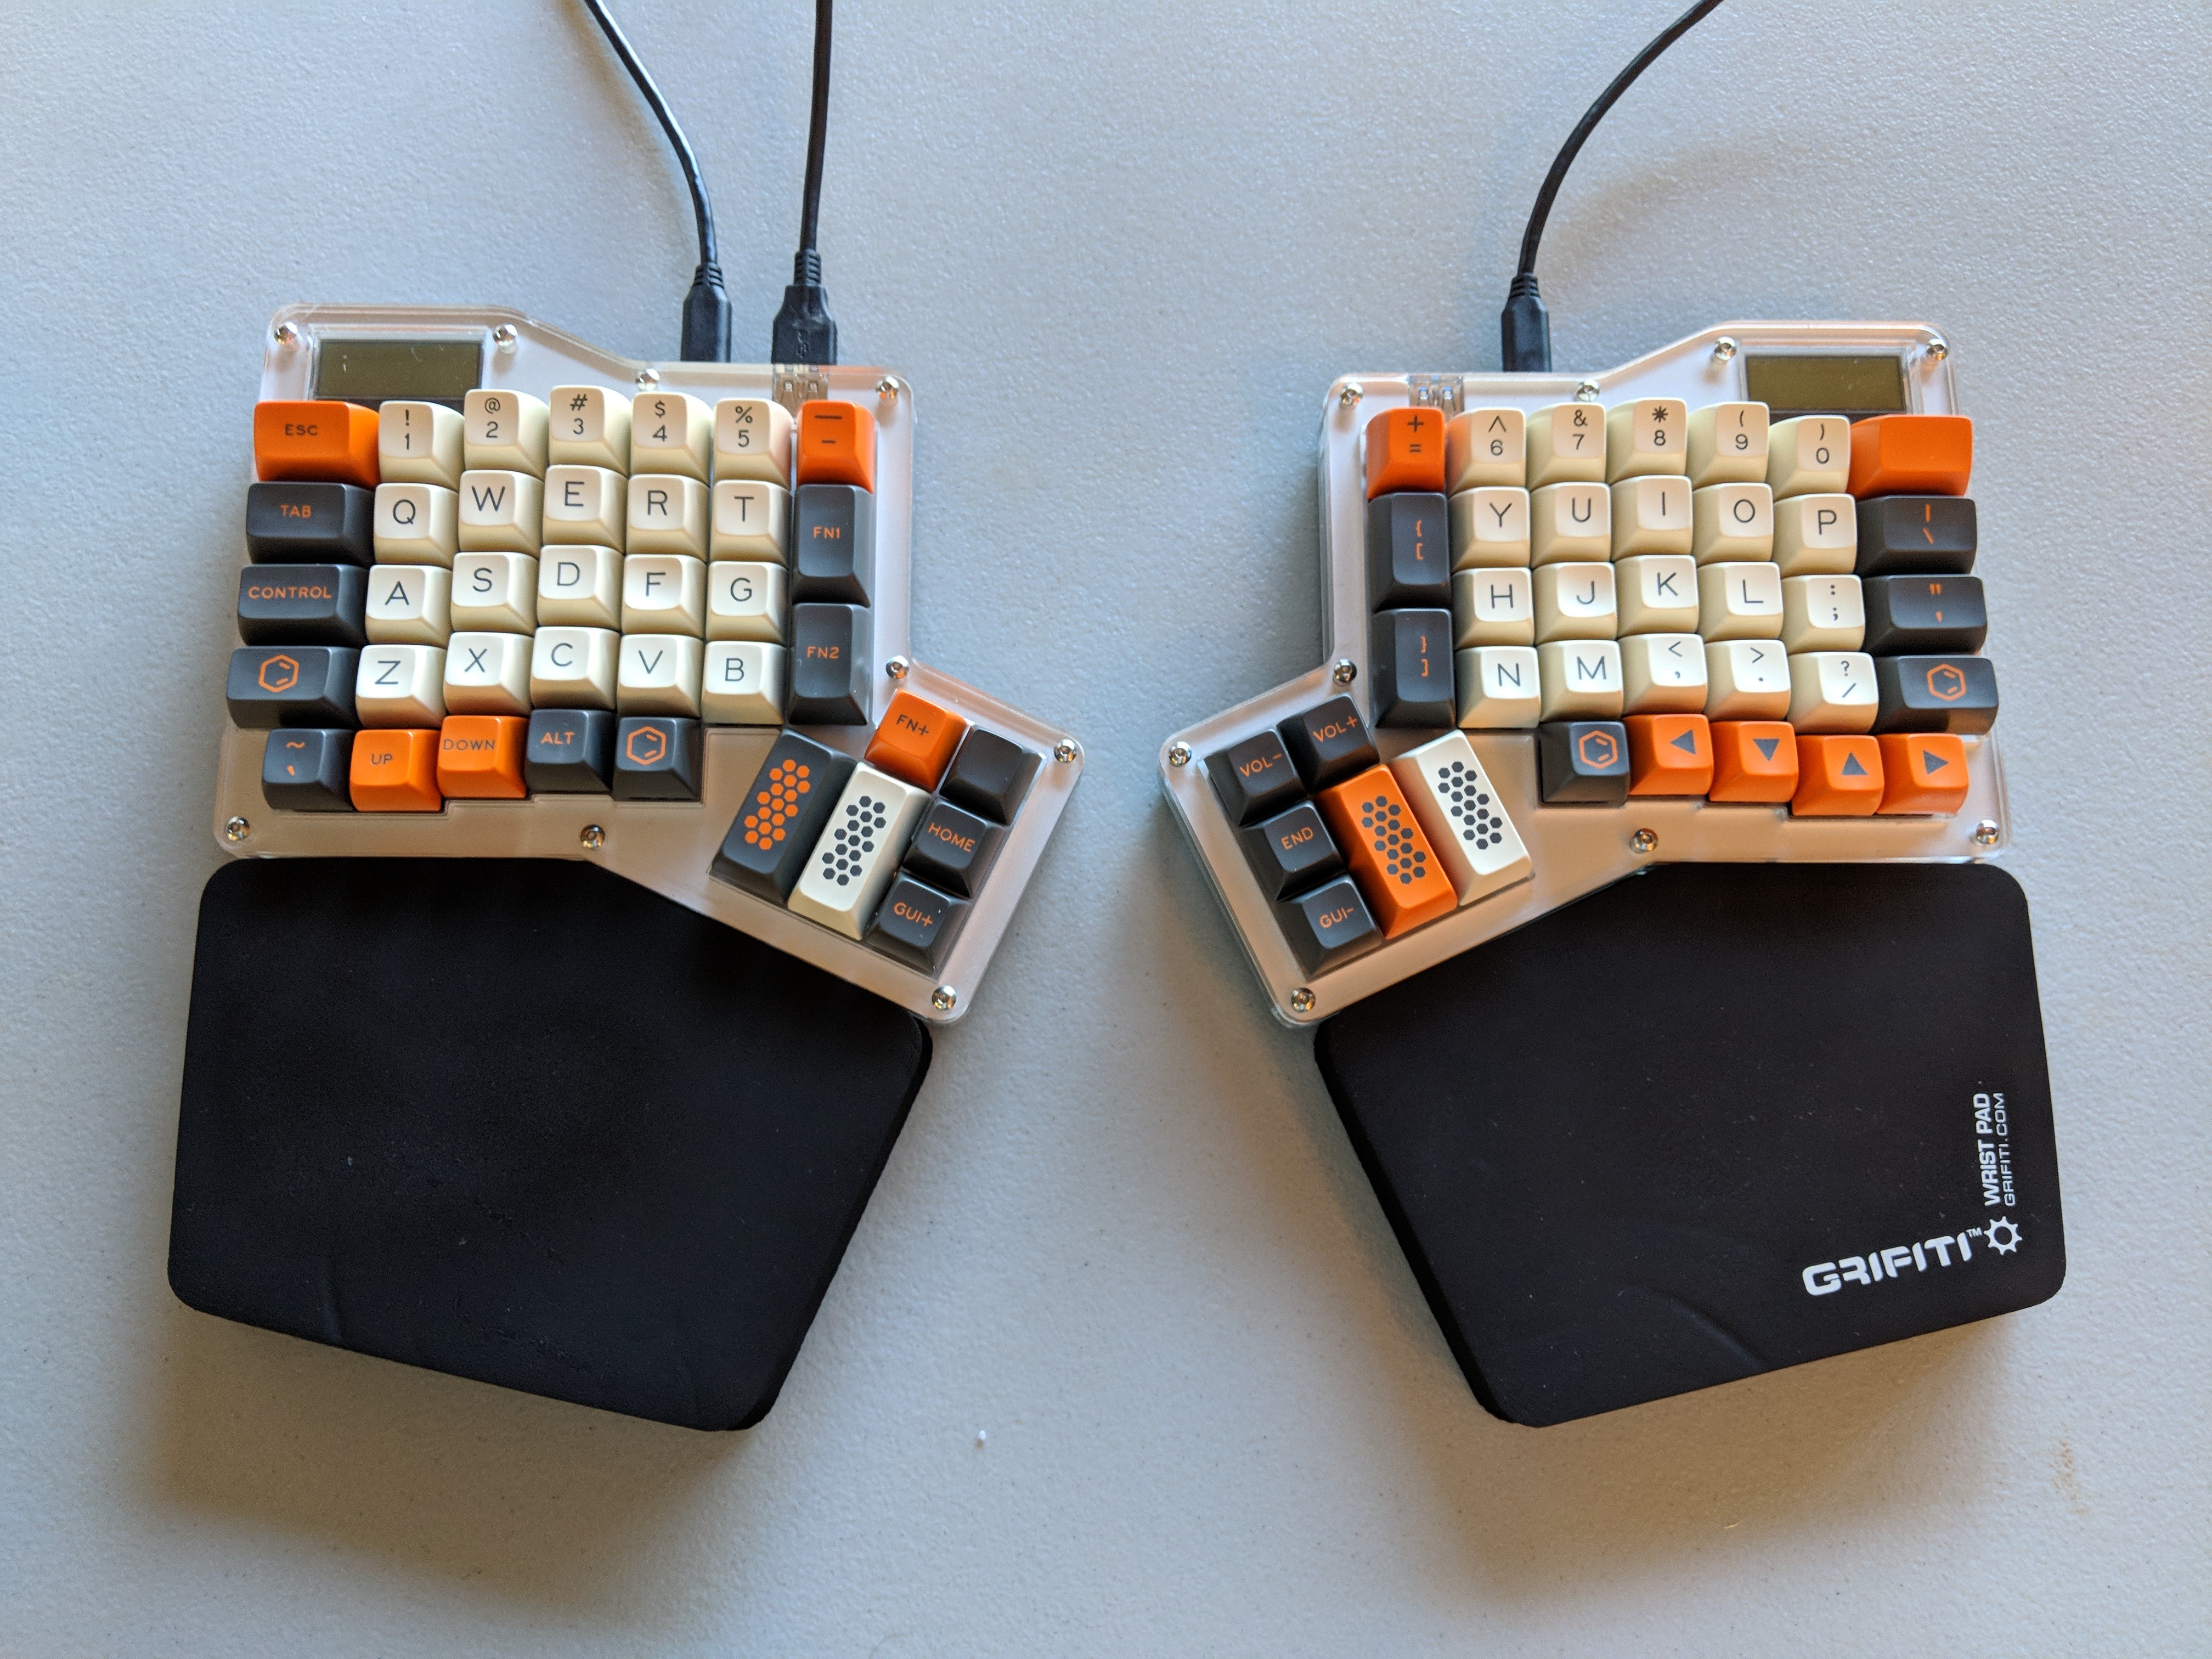
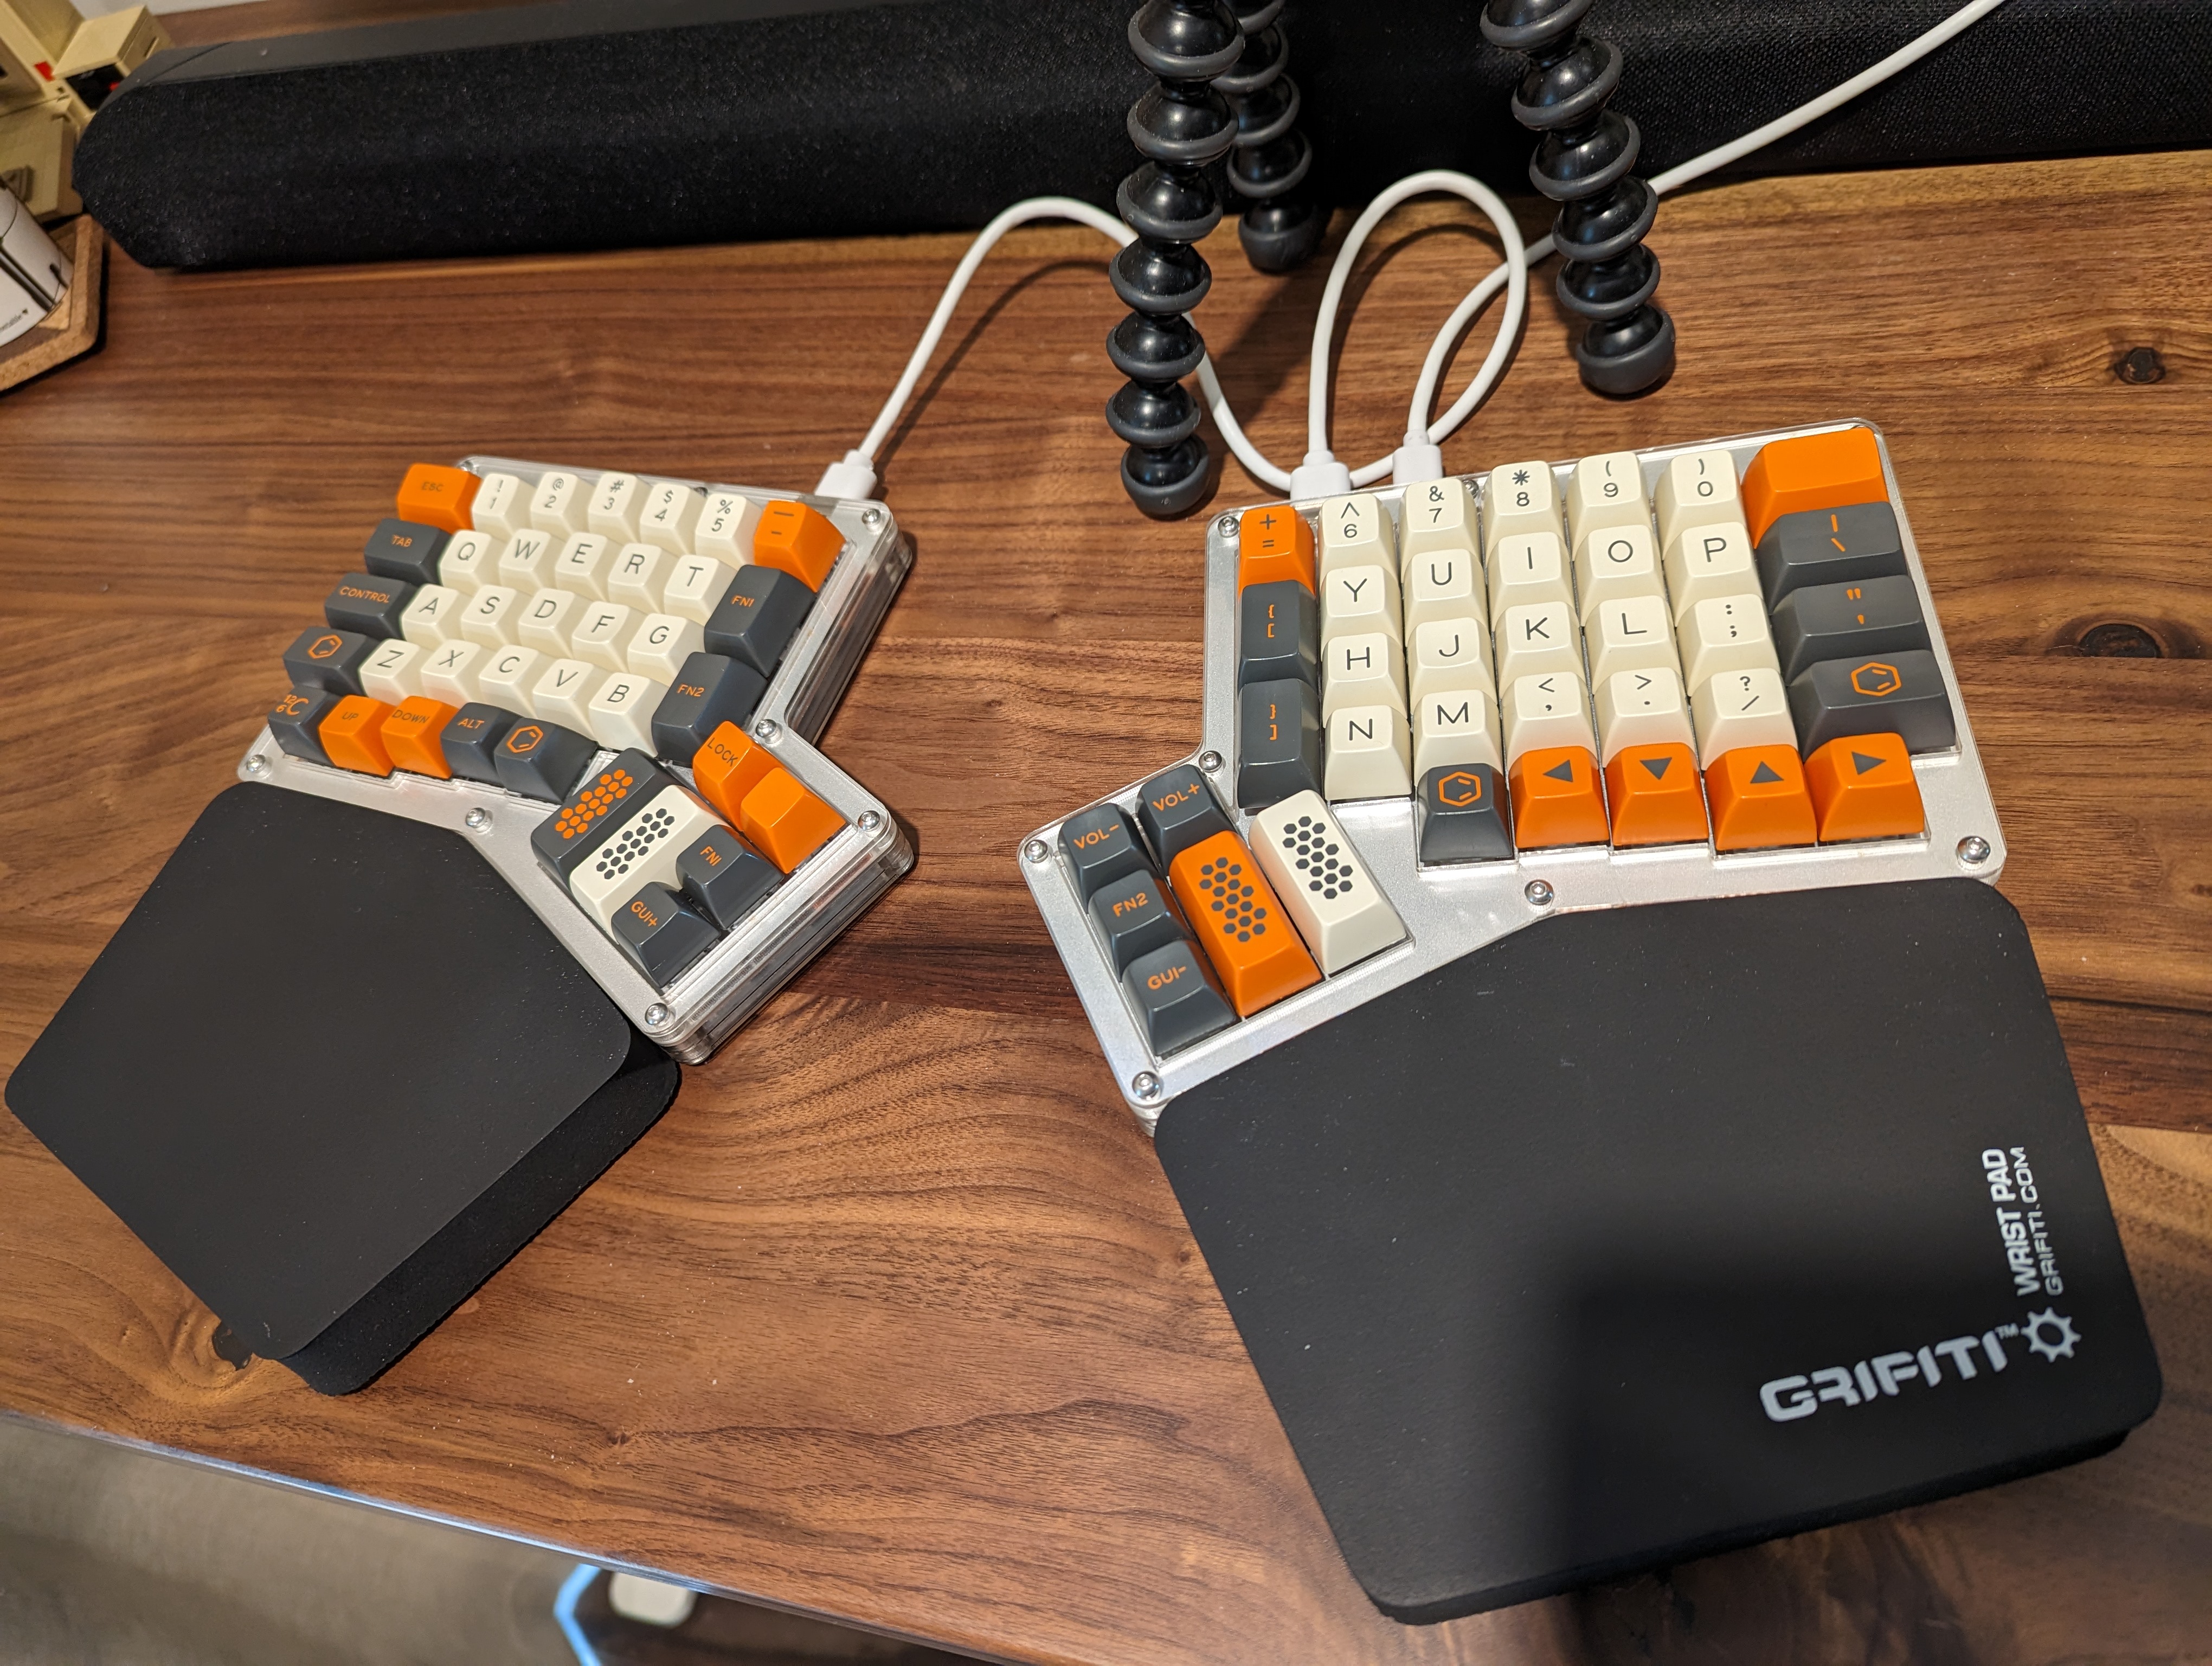
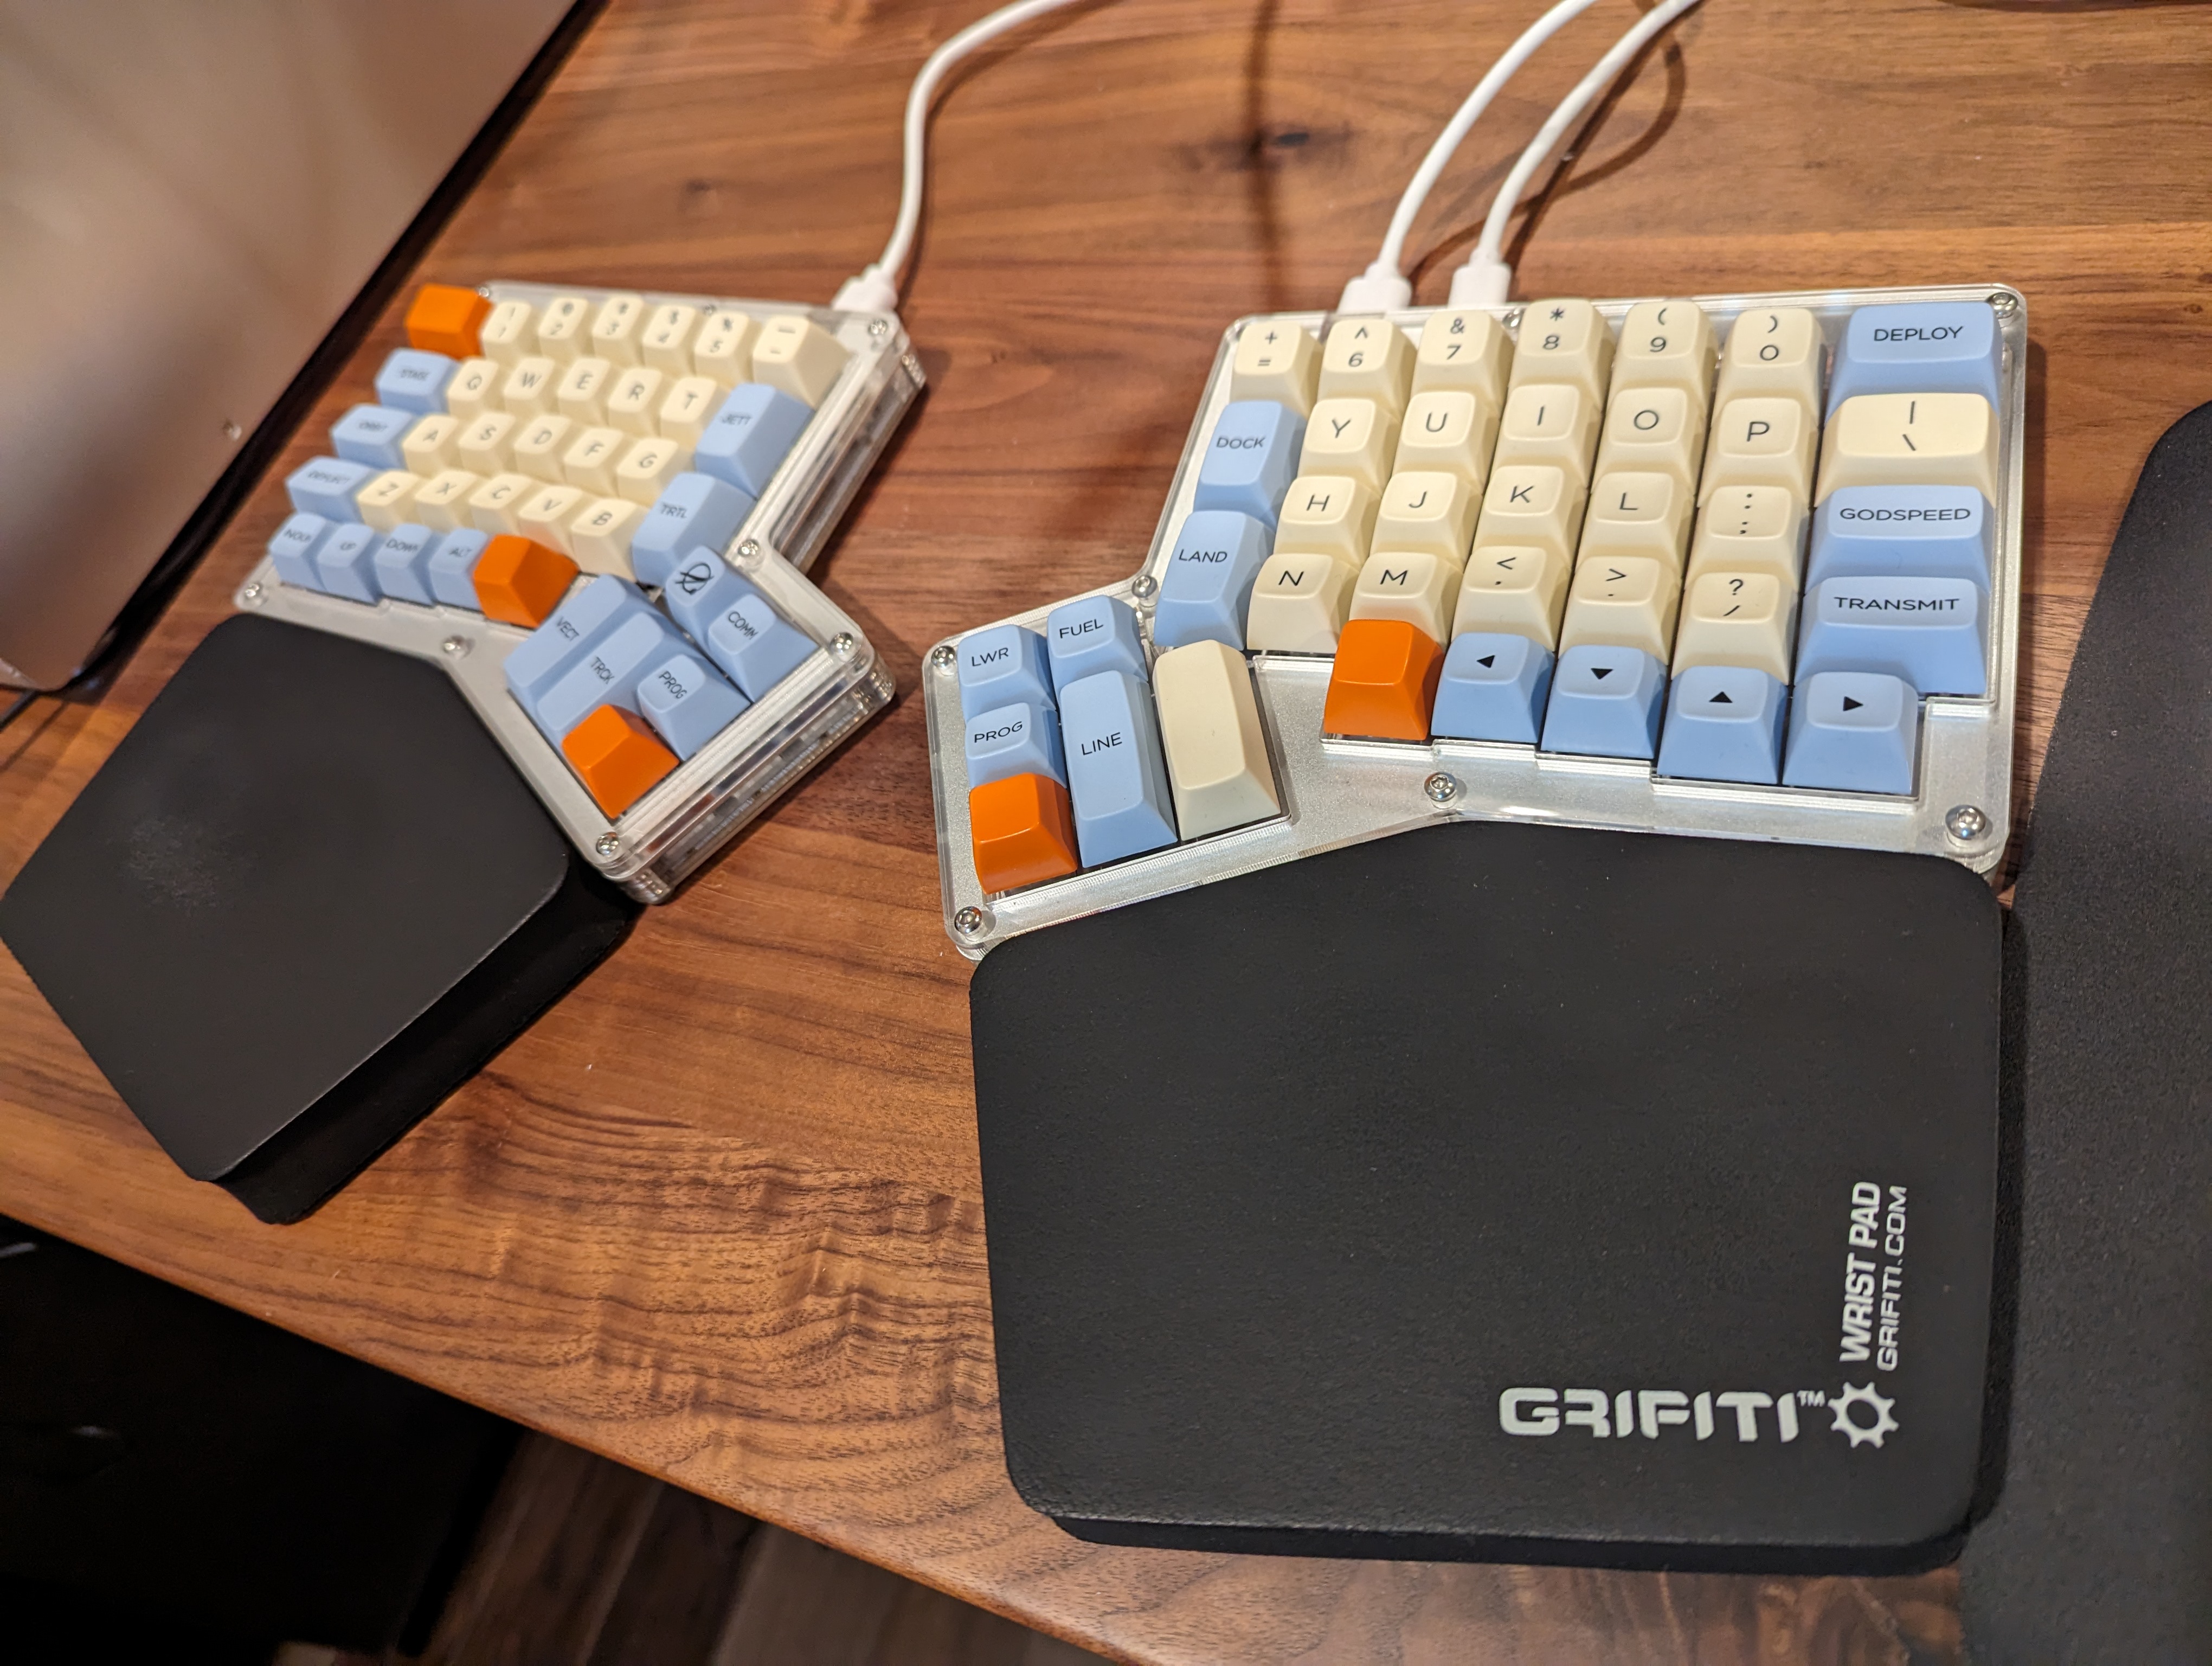
This post has gone on long enough so I'll end it here, leaving the details of the configuration and some other final observations to a third and final post in this sequence. But to close here, let's take a look at a couple of years-old newly completed keyboards!
I know I linked it above, but FYI yes part 3 is up now.


 Steamed Myth
 Apple on Deck
 Keyboard Waffle
 Clan 9 From Outer Space
 PlanetQuake Interview
 Custom Maps @ kitty1
 ClanRing Tourney 3 Demos


 ) except where indicated otherwise